
On this page
Your client paid for a 1,500-word blog post. It got a good week of attention, and now it sits in the archive. So you open it again, re-read every section, guess which points matter and start hand-building eight slides. If you want to repurpose a blog post into an Instagram carousel without doing that guesswork every time, this guide is the whole job in one pass.
Here's the good news: the post already has a hook (the intro), a sequence (the H2s) and an ending (the conclusion). Turning a blog post into a carousel is mostly cutting. And a carousel shows one idea per swipe, which is how most people take in a list anyway. If you're new to the format, start with what an Instagram carousel post is.
Below you'll get eight steps, a worked before and after, and a slide template you can reuse for every client post in 2026.
How to repurpose a blog post into an Instagram carousel
To repurpose a blog post into an Instagram carousel, pick an evergreen post, decide whether the carousel should stand alone or send people to the post, map the intro, H2s and conclusion to slides, cut each section down to one idea per slide, then write a hook, a caption and one clear call to action.
- Pick a post that wants to be a carousel
- Decide: native carousel or teaser carousel
- Map the post to slides
- Compress each section into slide copy
- Write a hook slide that earns the swipe
- Keep it looking like the post and the brand
- Write the caption and solve the link problem
- Post, then reuse the slides
Step 1. Pick a post that wants to be a carousel
The best blog to carousel candidates are evergreen and already broken into parts:
- Lists ("7 ways to...", "5 mistakes...")
- Step-by-step guides with clear stages
- Posts with original data, like a survey result or a before and after
- Posts that already rank or got shared, because the topic is proven
Skip news, posts built on one long argument, and tutorials that need video. For a client's blog, start from their top posts by traffic.
Step 2. Decide: native carousel or teaser carousel
Before you write a slide, decide what the carousel is for.
| Type | What goes on the slides | Built for | Ends with |
|---|---|---|---|
| Native carousel | The full value of the post, condensed | Saves and shares | Save this, share it, or follow |
| Teaser carousel | The 3-5 strongest points | Traffic to the post | A reason to read the rest |
For most posts, go native. Choose a teaser only when the post sells something or holds a download.
Step 3. Map the post to slides
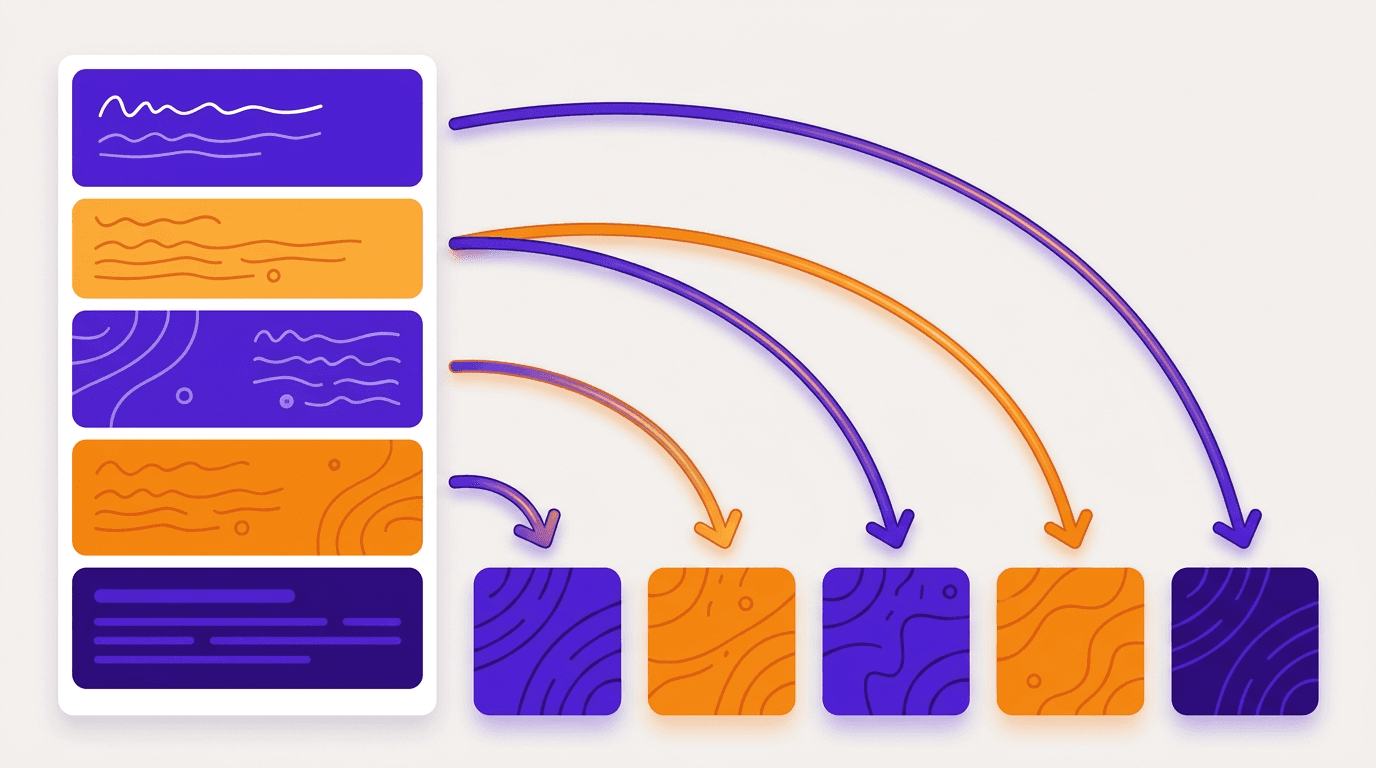
The intro becomes your hook slide, each H2 becomes a content slide, your best stat or example becomes the proof slide, and the conclusion becomes the CTA slide.
Use this template for every blog post to Instagram carousel job:
| Slide | Job | Comes from | Word budget |
|---|---|---|---|
| 1. Hook | Stop the scroll, promise the payoff | Intro, title | 6-12 words |
| 2. Setup | Why this matters to the reader | The intro's problem | 15-25 words |
| 3-8. Points | One idea per slide | One H2 each | 15-30 words |
| 9. Proof | A number, example or quote | The body | 10-25 words |
| 10. CTA | One ask: save, share, comment or link in bio | The conclusion | 6-15 words |
How many slides? Treat 6-10 as the working range. Instagram allows up to 20 photos or videos in one carousel, as Adam Mosseri announced in August 2024, but more slides only help when each one earns its swipe. If a post has 12 H2s, merge the small ones or pick the strongest six.
Step 4. Compress each section into slide copy (a worked example)
Here's what "simplify the text" looks like on an actual paragraph. Say your client's post is about keeping sourdough fresh. This is a made-up sample post, and here's a paragraph from it:
When it comes to storing your sourdough, there are a lot of different opinions out there, and it can honestly be a little overwhelming to figure out what's best. In our experience at the bakery, the fridge is actually one of the worst places you can keep bread, because the cold speeds up staling. Instead, we recommend keeping your loaf cut side down on a wooden board for the first two days, then slicing and freezing whatever is left.
That's 79 words. Here's the same idea as two slides:
Slide 4: Don't put sourdough in the fridge. The cold makes it go stale faster.
Slide 5: Cut side down on a board for 2 days. Then slice and freeze the rest.
Three cuts made that work:
- Cut the throat-clearing. "When it comes to..." tells the reader nothing.
- Keep the specific number. "Two days" is the useful part, so it stays.
- Turn advice into an instruction. "We recommend keeping your loaf" becomes "Cut side down on a board."
Why go this short? People scan. In Nielsen Norman Group's classic study, How Users Read on the Web (Jakob Nielsen, 1997), 79% of test users scanned a new page instead of reading word by word. A slide gets a glance, so it should carry one idea.

Step 5. Write a hook slide that earns the swipe
A blog title is written for search. A hook is written for a thumb. Three patterns, all from the same sample sourdough post:
- The mistake: "You're storing sourdough wrong."
- The number: "5 days of fresh bread from one loaf." (That's what the sample post promises, so the hook only repeats it.)
- The before and after: "Rock-hard by Wednesday. Soft until Saturday."
Add a visual cue that there's more, like an arrow or a line that runs off the edge of the slide.
Step 6. Keep it looking like the post and the brand
Reuse the article's own images instead of new art, so the carousel and the post read as one piece.
Put the brand's colors and fonts on every slide and keep one layout rhythm: headline in the same spot, support line in the same spot. Use 4:5 portrait as the safe default, and check Instagram carousel size and safe zones before you export. Add alt text to every slide, too.
If you build it in Krumzi, it can place the article's own images on the slides for you.
Step 7. Write the caption and solve the link problem
People can't tap a URL in a feed caption, so pasting the post's link there sends nobody anywhere. Give them a route instead:
- Link in bio. Put the post as the first link in the profile.
- A same-day Story. Share the carousel to Stories and add a link sticker to the post.
- A comment keyword. "Comment SOURDOUGH and I'll send you the link." Use this only if the account runs DM automation.
For the caption, the first line restates the hook. Then two or three lines of context the slides left out. Then one call to action. If you want more on that part, here's our guide to writing social media captions that get engagement.

Step 8. Post, then reuse the slides
Post when the client's audience is most active. Their Instagram insights show the days and hours.
Then reuse them: export the slides as a PDF and you have a LinkedIn document carousel. For agencies, one back-catalog post per client per week, each in that client's brand, is a steady rhythm. For posting mechanics, follow our step-by-step carousel guide.
How to turn a blog post into a carousel from the link in Krumzi
If you'd rather not do steps 3 to 6 by hand, paste the post's URL into the Krumzi prompt with your instruction, for example: "8-slide Instagram carousel from this post, native, built for saves, use the article's photos."
Krumzi reads the page's text and images automatically. It builds a hook, the key points and a CTA instead of dumping paragraphs onto slides, and it can place the article's own images on the slides (imported and re-hosted, not hotlinked). Krumzi designs with your brand's colors, fonts and logo on every plan. Pro and above add editing the Brand Kit and room for more client brands, each with its own kit.
Then refine it by chatting. Click slide 3 and say "tighten this to one line." Every change is saved as a version you can go back to. When you're happy, export the slides as separate images in a .zip or as a multi-page PDF, and pick which slides to include.
One honest limit: paywalled pages, very long posts or pages that load their text with scripts can read poorly. If that happens, paste the key sections into the prompt instead. For agencies, run one chat per client post.
Krumzi starts with a 3-day trial. You add a card at checkout, and exports during the trial carry a watermark until your first payment. Start your trial from the AI Instagram carousel maker and paste in your next post.

Mistakes that make a repurposed carousel flop
- Pasting paragraphs onto slides. One paragraph is 79 words. A slide holds 15 to 30.
- Using the blog title as slide 1. Write a hook instead.
- A CTA that asks for three things. Pick one.
- New images that look nothing like the post. Reuse the article's visuals and the brand's colors.
- A URL in the caption. People can't tap it, so put the link in your bio or a Story link sticker.
For what else to make from the same post, see these AI content repurposing plays.
Frequently Asked Questions
How many slides should a repurposed blog carousel have?
Aim for 6 to 10 slides. Instagram allows up to 20 photos or videos in one carousel, but add slides only when each one carries a real idea.
Can I put a clickable link in an Instagram carousel caption?
No. People can't tap a URL in a feed caption, so put the link in your bio or a Story link sticker. If the account runs DM automation, a comment keyword that sends the link by message also works.
Does repurposing a blog post for Instagram hurt SEO?
No. A carousel lives on Instagram, so it isn't a duplicate page competing with your article in Google. Duplicate content and canonical tags only matter when you republish the same text on other indexable web pages, which Google covers in its guide to consolidating duplicate URLs.
How much text should go on each carousel slide?
Keep each slide to one idea, usually 15 to 30 words. The hook slide should be shorter, under 12 words. If a slide needs more, split it in two or move the detail into the caption.
Should the carousel link back to the blog post?
For a teaser carousel, yes. Sending people to the post is the whole point. For a native carousel it's optional, so mention the post in the CTA slide or the caption for readers who want the full version.
A month of posts, designed before your coffee cools
Describe the post. Krumzi designs it from scratch, on your brand, fully editable.
Start free trial3-day free trial, card needed. No charge until day 4. Cancel online anytime.