On this page
⚡ TL;DR
A good invitation answers five things at a glance: what, who, when, where, and how to respond.
The design process: pick the event and tone, choose a size, set a simple layout with clear hierarchy, add wording, and export for print or digital.
Keep it to one or two fonts, a small color palette, and plenty of white space so the key details stand out.
You do not need design software. AI design tools now generate a custom, editable invitation from a short description.
Whether it is a birthday, a wedding, a baby shower, or a business launch, the invitation sets the tone before anyone arrives. It is the first impression of your event, and a thoughtful one gets people excited to show up. The catch is that most people think making one means wrestling with design software or settling for a generic template.
It does not have to be that way. This guide walks you through how to make an invitation step by step, from the wording to the design choices, plus the fastest way to create a custom one in 2026 without any design skills.
What Makes a Good Invitation?
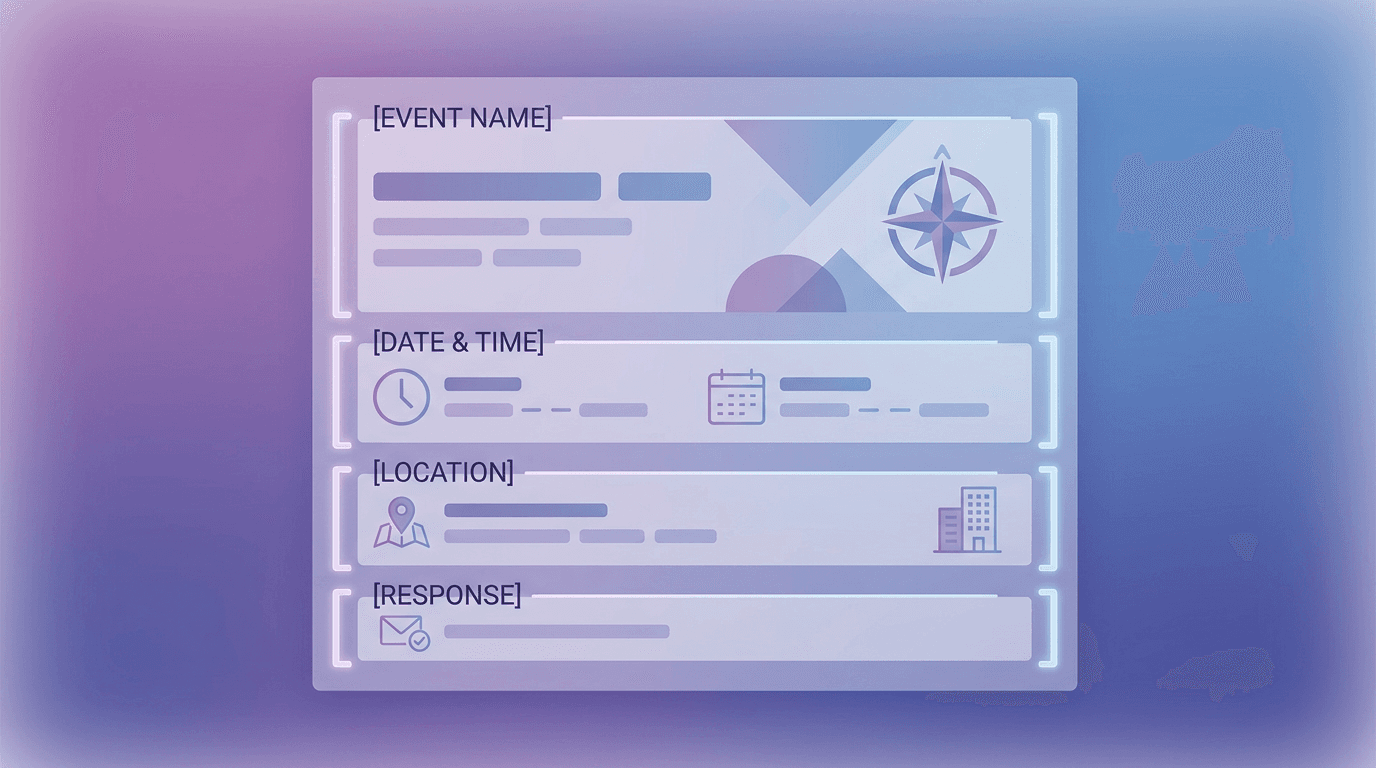
A good invitation does one job well: it communicates the essential details clearly while setting the mood for the event. Every invitation, no matter the occasion, should answer five questions at a glance:
- What is the event?
- Who is hosting or being celebrated?
- When is it (date and time)?
- Where is it (address or link)?
- How should guests respond (RSVP details)?
Get those five right and clearly laid out, and the rest is styling. The design should support the information, not bury it.
How to Make an Invitation: Step by Step
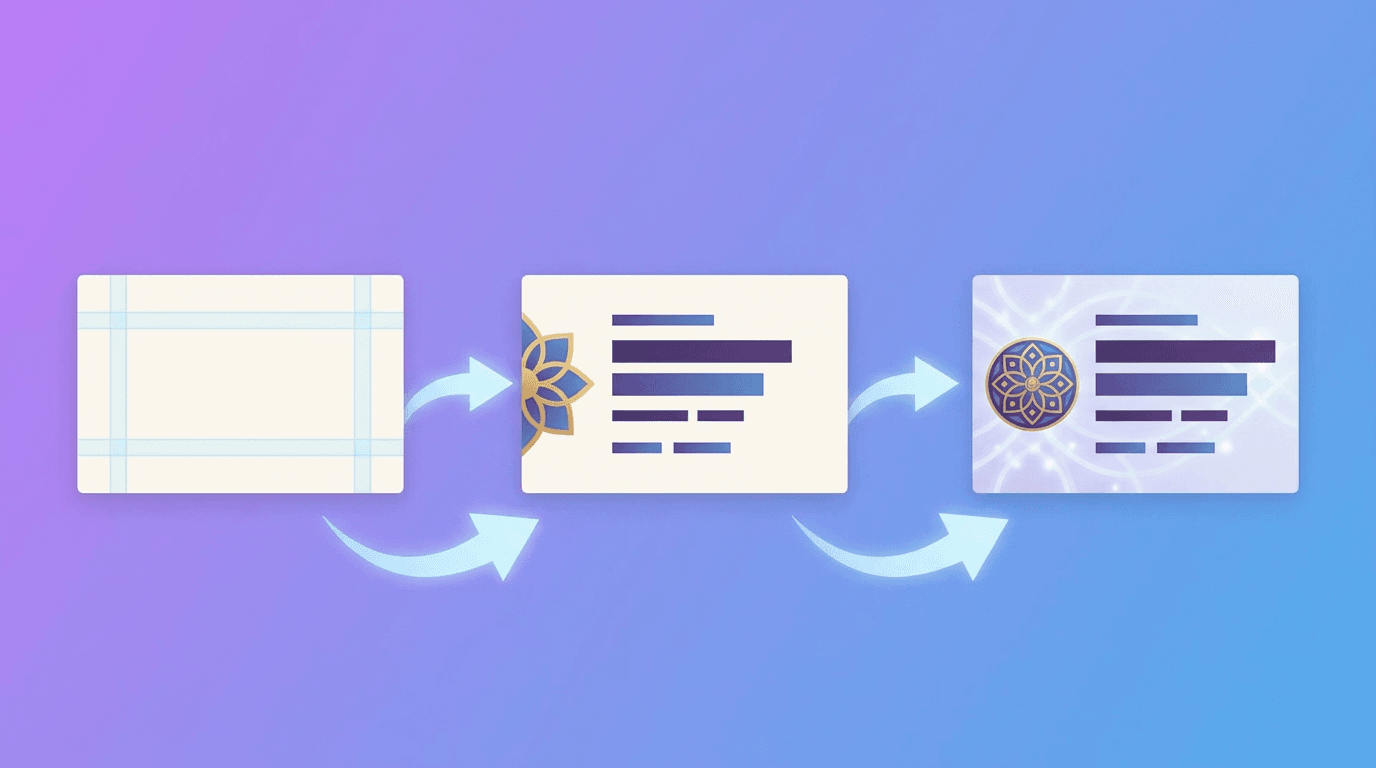
Here is the full process, from idea to finished invitation.
Step 1: Define the Event and Its Tone
Start by getting clear on the occasion and the feeling you want. A kid's birthday party is playful and colorful. A wedding is elegant and refined. A corporate launch is clean and professional. The tone drives every design choice that follows, from colors to fonts to imagery, so decide it before you open any tool.
Step 2: Choose Print or Digital (and the Right Size)
Decide how guests will receive the invitation, because it changes the dimensions you need.
| Type | Common sizes | Best for |
|---|---|---|
| Print invitation | 5 x 7 in, 4 x 6 in, A6 | Weddings, formal events, mailed cards |
| Digital / social | 1080 x 1080, 1080 x 1350, 1080 x 1920 | Casual events, quick RSVPs, sharing online |
Many people now make both: a print version to mail and a digital version to share by text or social. If you are posting it online, our social media image sizes guide has the exact dimensions for every platform.
Step 3: Set a Simple Layout With Clear Hierarchy
Visual hierarchy is what makes an invitation easy to read in a glance. Arrange the information by importance:
- Largest: the headline (the event name or the person being celebrated).
- Medium: the key details (date, time, location).
- Smallest: the fine print (RSVP info, dress code, extra notes).
Give each element room to breathe. Crowding everything together is the most common mistake, and white space is what makes a design feel polished.
Step 4: Choose Colors and Fonts
Restraint is the secret to a professional look. Stick to a small color palette (two or three colors that match the event's mood) and no more than two fonts, usually one for the headline and one for the body text. High contrast between text and background keeps everything readable. If you have brand colors or a theme, build the palette around them.
Step 5: Write Clear, Warm Wording
The wording carries the tone. Match the language to the event: playful for a birthday, formal for a wedding, straightforward for a business event. Whatever the style, make the five key details impossible to miss, and end with a clear RSVP instruction and deadline. A quick tip: read it aloud to make sure nothing essential is missing.
Step 6: Add Visuals That Fit the Occasion
A relevant image, illustration, or subtle background pattern lifts an invitation from plain to memorable. Keep it thematic and do not let it fight the text for attention. A single strong visual and clean type beats a busy collage every time.
Step 7: Proofread and Export
Before you send anything, double-check the date, time, address, and spelling. An invitation with the wrong date is a genuine problem, so proofread twice. Then export correctly: a high-resolution PDF at 300 DPI for printing, or a PNG or JPG for digital sharing.
The Fast Way: Make an Invitation With AI
The traditional route means either fighting with design software or scrolling through hundreds of templates that thousands of other people have already used. AI design tools skip both. You describe the invitation you want in plain English, and the AI generates an original, editable design in seconds.
With a chat-based tool like Krumzi, you type something like: "Create a 5x7 birthday party invitation for a 6-year-old's dinosaur theme, playful and colorful, with space for the date, time, and address." The AI builds the full layout, colors, and typography from scratch, and every element stays editable so you can adjust the wording and fine-tune the look. Because it generates rather than templates, your invitation is not a copy of one thousand others. For the prompting fundamentals, see our guide on how to create social media graphics with AI, and for a wider view of the tools, our roundup of the best AI design tools in 2026.
Invitation Design Tips That Make a Difference
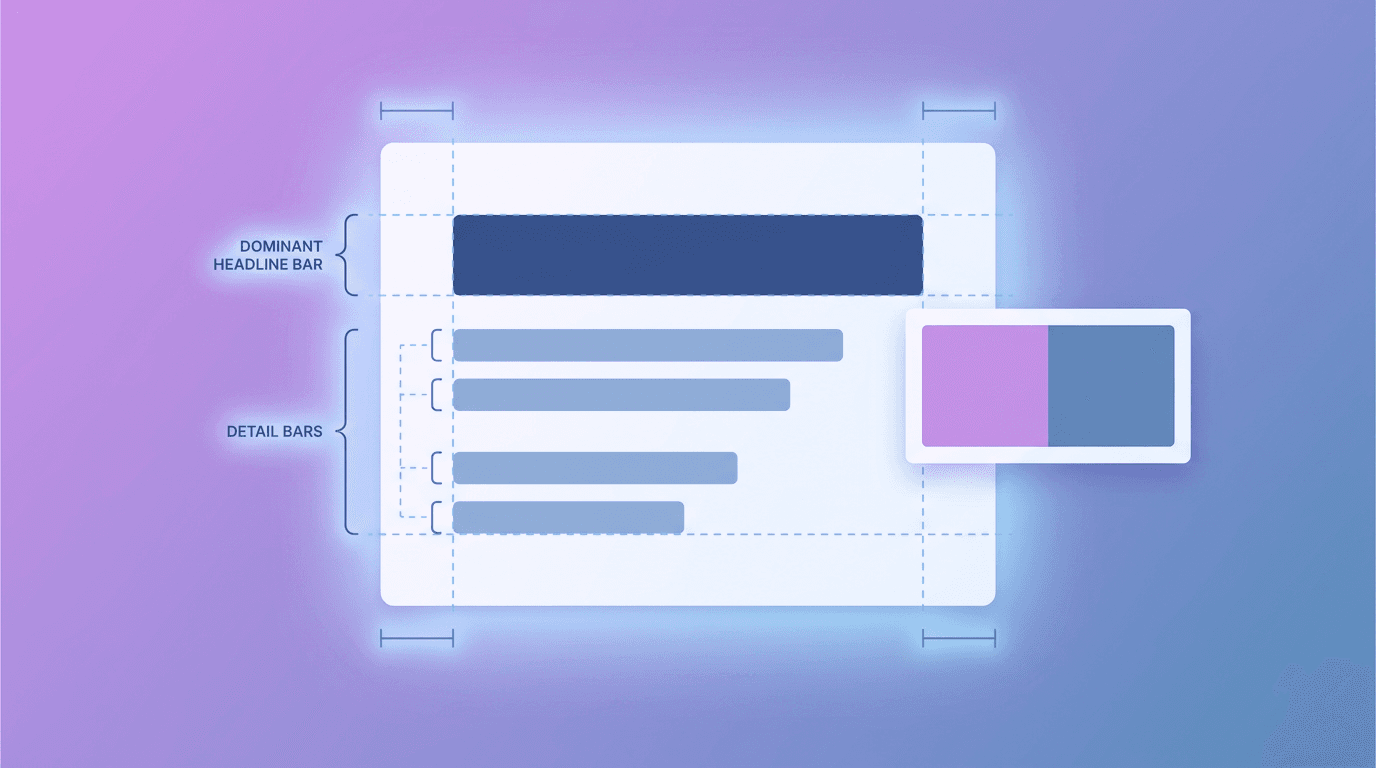
- One clear headline. The event or celebrant's name should be the first thing anyone reads.
- Less is more. Do not cram every detail on the front. Essentials on the card, extras in an RSVP link.
- Stay consistent. Match colors and fonts to the event theme so everything feels cohesive.
- Make the RSVP obvious. People forget to respond when the instruction is buried. Make it stand out.
- Design for the format. A print invitation and a phone-screen version have different needs, so adapt rather than reuse blindly.
Frequently Asked Questions
What size should an invitation be?
The most common print invitation sizes are 5 x 7 inches and 4 x 6 inches, which suit weddings and formal events. For digital invitations shared online, use platform sizes like 1080 x 1080 for a square post or 1080 x 1920 for a Story. Choose print or digital first, since it determines the dimensions.
What information should an invitation include?
Every invitation should answer five questions: what the event is, who is hosting or being celebrated, when it takes place (date and time), where it is (address or link), and how to RSVP. Include a response deadline, and add extras like dress code only if they are relevant.
How do I make an invitation for free?
You can make an invitation for free using AI design tools that offer free plans. Describe the event and style, generate a design, edit the wording and colors, and export it for print or sharing. Tools like Krumzi (paid plans with a 7-day free trial) create an original invitation from your description, no design experience needed.
How do I make a digital invitation to text or post?
Create the invitation at a digital size (1080 x 1080 for a square or 1080 x 1920 for a Story), then export it as a PNG or JPG. You can text it, email it, or post it on social media with your RSVP link. Keep the wording short and the details large so it reads clearly on a phone screen.
Can I make both a print and digital version of the same invitation?
Yes. Design it once, then export a high-resolution PDF at 300 DPI for printing and a web-sized PNG or JPG for digital sharing. Many AI design tools let you resize the same design for different formats in a click, so you keep one consistent look across both.
Start Making Your Invitation
A great invitation is equal parts clear information and fitting design. Nail the five essentials, set a simple layout with strong hierarchy, keep the colors and fonts restrained, and match the tone to the occasion. Proofread twice, then export for print, digital, or both.
If design has always been the sticking point, describe your event to an AI tool and let it create the invitation for you, then tweak the wording and colors until it feels just right.
Related reading:
A month of posts, designed before your coffee cools
Describe the post. Krumzi designs it from scratch, on your brand, fully editable.
Make your first design freeFree to make, no card. Only pay if you download it.