On this page
- Which Method Should You Use?
- Method 1: The Tape and Paper Sticker (10 Minutes, No Equipment)
- Method 2: Print Your Own on Sticker Paper
- Method 3: Design Sticker Artwork That Actually Works
- Method 4: Make a Sticker on Your Phone (iPhone and WhatsApp)
- Method 5: Order Professional Stickers (Including Ones You Can Sell)
- Sticker Sizes That Work
- Mistakes That Ruin Stickers
- Frequently Asked Questions
- Start With the Design
"How do I make a sticker" is really five different questions wearing a trench coat. Someone wants a craft project for a rainy afternoon. Someone wants to turn a photo of their dog into an iMessage sticker. Someone wants 500 die-cut vinyl stickers to sell on Etsy.
Most guides pick one of those and pretend it is the whole answer. This one covers all five routes, tells you which is right for what you are actually doing, and spends real time on the part everyone skips: designing artwork that survives being cut out and shrunk to two inches.
Which Method Should You Use?

Start here so you do not waste an afternoon on the wrong approach.
| Your goal | Best method | Time | Cost |
|---|---|---|---|
| Fun craft, no equipment | Tape and paper | 10 minutes | Under $5 |
| A few custom stickers at home | Print on sticker paper | 30 minutes | $15 for a pack |
| Texting stickers | iPhone or WhatsApp built-in | 2 minutes | Free |
| Professional die-cut stickers | Design, then order printing | 1 hour plus shipping | $20 to $80 |
| Selling stickers | Design, then print on demand | 2 hours setup | Per-order |
The design step is shared across the last three. Get that right and every downstream method gets easier.
Method 1: The Tape and Paper Sticker (10 Minutes, No Equipment)
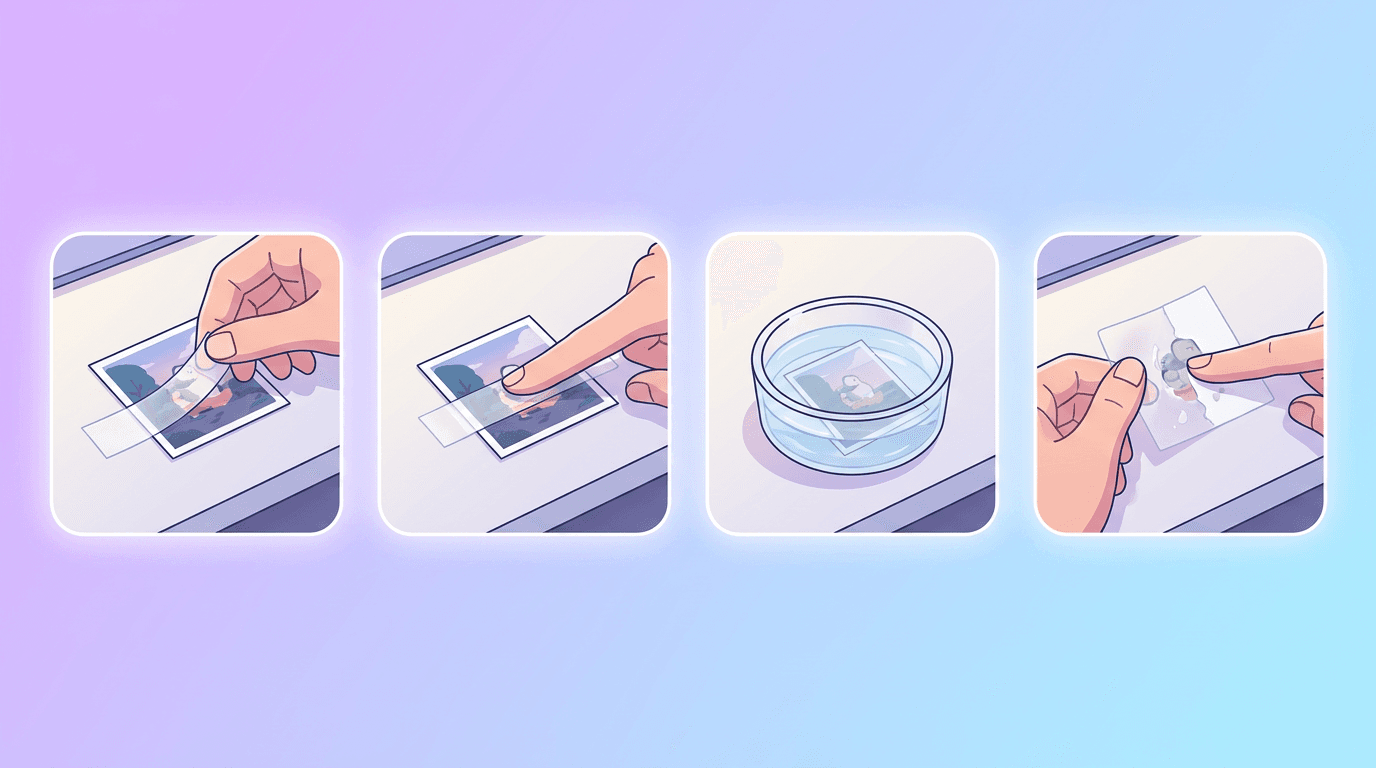
This is the one all over TikTok, and it genuinely works. You need paper, clear packing tape, parchment paper, and scissors.
- Draw or print your design on regular paper. Color it in fully. Faint pencil lines will disappear once the tape goes on.
- Cut it out leaving a small border of about 2 mm around the edge.
- Lay a strip of clear packing tape sticky side up on your work surface. Tape the corners down so it stays put.
- Place your cutout face down onto the tape. Press firmly from the center outward to push out air bubbles.
- Cover the back with a second strip of tape, sealing the design between two layers.
- Trim around the shape, leaving a thin clear margin so the seal holds.
- Peel and stick onto parchment paper. The parchment acts as the backing sheet, so the sticker lifts off cleanly later.
Durability is the honest limitation here. These are indoor stickers for notebooks and water bottles that do not go through the dishwasher. For anything that needs to survive weather, skip to method 3.
Method 2: Print Your Own on Sticker Paper
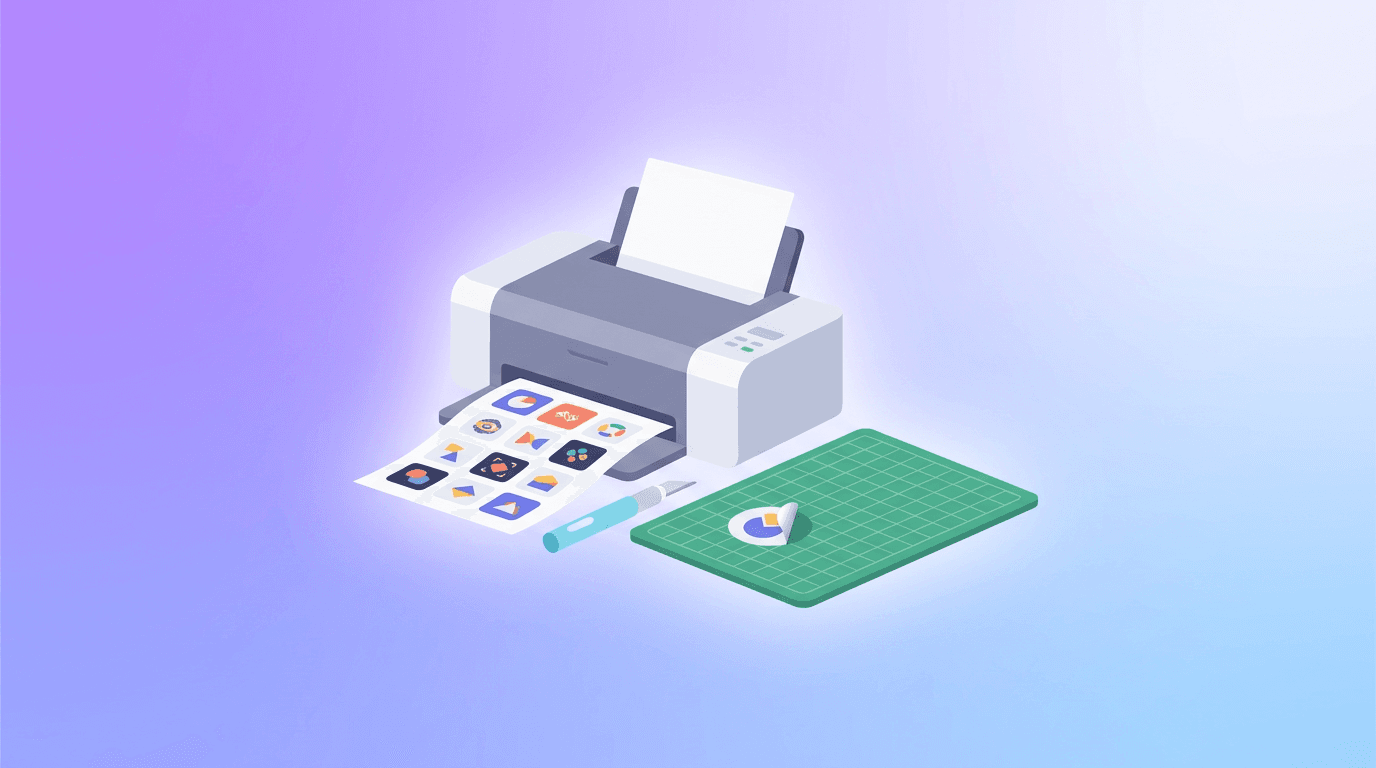
One step up in quality, still entirely at home. You need an inkjet or laser printer and a pack of printable sticker paper.
Choose your paper first, because it changes everything:
- Matte paper sticker sheets are cheap and take ink well. Not water resistant. Good for packaging, planners, and labels.
- Glossy paper looks richer and photos pop. Still not waterproof.
- Printable vinyl is the upgrade. Water resistant, tear resistant, and it is what most people actually want when they say "real stickers."
- Clear vinyl gives you a transparent background, which looks great on glass and laptops but requires artwork with strong contrast.
The workflow:
- Design your sticker at 300 DPI. This is the number that matters. At 72 DPI your sticker will look pixelated the moment it prints, even if it looked fine on screen.
- Arrange multiple stickers on one sheet to avoid wasting paper. A standard 8.5 x 11 sheet fits roughly twelve 2-inch stickers.
- Add a cut line as a thin outline around each design so you know where to trim.
- Print a test page on plain paper first. Every printer scales slightly differently, and sticker paper is too expensive to guess with.
- Print on your sticker sheet, then let the ink dry for at least ten minutes before touching it.
- Seal it with a clear laminate sheet or a light coat of clear acrylic spray if you used paper rather than vinyl. This is what makes the difference between a sticker that lasts a week and one that lasts a year.
- Cut with scissors, a craft knife, or a cutting machine.
If you have a cutting machine like a Cricut, you can print then cut automatically using registration marks, which is how you get clean die-cut shapes without hand-trimming fifty stickers.
Method 3: Design Sticker Artwork That Actually Works

This is the step that separates stickers people want from stickers that look homemade, and it is the step most guides skip entirely.
Design rules that matter for stickers specifically:
Bold shapes beat fine detail. A sticker is often two inches wide. Thin lines, small text, and delicate gradients disappear or turn muddy at that scale. Think logo, not illustration.
Give it an outline. Almost every professional sticker has a white or colored border of 3 to 5 pixels around the shape. It separates the sticker from whatever surface it lands on and hides small cutting inaccuracies.
High contrast survives, subtlety does not. Stickers get applied to laptops, water bottles, and car windows in every color. Your design needs to hold up on both a white MacBook and a black Hydro Flask.
Design on a transparent background and export as PNG. This gives you flexibility later, whether you go clear vinyl, white vinyl, or die-cut.
Keep text to three words. Same principle as any small-format design: if it does not read at a glance, it does not work.
Set your canvas correctly. Design at your final physical size plus a 3 mm bleed on every side, at 300 DPI. A 3-inch sticker means a canvas of roughly 990 x 990 pixels including bleed.
If you are not a designer, this is exactly the kind of task AI handles well now. With Krumzi you describe the sticker you want, such as a retro sun with a thick cream outline and a warm orange palette, and it generates the artwork with the bold shapes and clean edges stickers need. Everything stays editable, so you can thicken the outline or change the palette without starting over. If you want prompt patterns that produce clean, printable art, our AI design prompts guide has copy-paste examples worth adapting.
One caution if your sticker includes words: AI image tools are historically bad at rendering readable text. We covered the workarounds in how to add readable text to AI images.
Method 4: Make a Sticker on Your Phone (iPhone and WhatsApp)

If you just want a sticker for texting, you do not need any of the above.
On iPhone (iOS 17 and later):
- Open the photo in the Photos app.
- Press and hold on the subject until it lifts off the background with a shimmer.
- Tap Add Sticker.
- Optionally tap Add Effect for outline, puffy, comic, or shiny styles.
- It now appears in your sticker drawer in Messages, and works in any app that supports the emoji keyboard.
On WhatsApp:
- Open a chat and tap the sticker icon in the text field.
- Tap the plus icon, then Create.
- Select a photo, crop it, and WhatsApp will cut out the subject automatically.
- Save it to your sticker pack.
Both of these use on-device subject detection, and both work best with a clear subject against a contrasting background. A photo of a dog on grass works. A photo of a dog on a brown couch usually does not.
Method 5: Order Professional Stickers (Including Ones You Can Sell)
When you want real die-cut vinyl at volume, you design the artwork and send it to a printer.
What printers need from you:
- 300 DPI minimum, ideally a vector file (SVG, AI, or EPS) if your design is graphic rather than photographic
- A 3 mm bleed on every edge
- A clearly defined cut line as a separate layer or path
- CMYK color mode for print, not RGB, since RGB colors can shift noticeably when converted
- Transparent background for die-cut shapes
Common finishes and when to use them:
| Finish | Best for |
|---|---|
| Die-cut | Custom shapes that follow your artwork outline |
| Kiss-cut | Sticker sheets with multiple designs on one backing |
| Holographic | Eye-catching retail and higher price points |
| Clear | Designs meant to sit on glass or laptops |
| Matte | Muted, premium look with no glare |
If you plan to sell, the Etsy Seller Handbook is a solid starting point on listing, pricing, and shipping mechanics. Sticker margins can be genuinely good, but they depend on ordering in enough volume that per-unit cost drops, so run the numbers before committing to a large batch.
A branding note worth making: if these stickers represent a business, they should match everything else you put out. Consistent colors, one typeface family, and a recognizable style. Our guide on how to create a brand kit with AI walks through defining that once so every asset stays consistent.
Sticker Sizes That Work
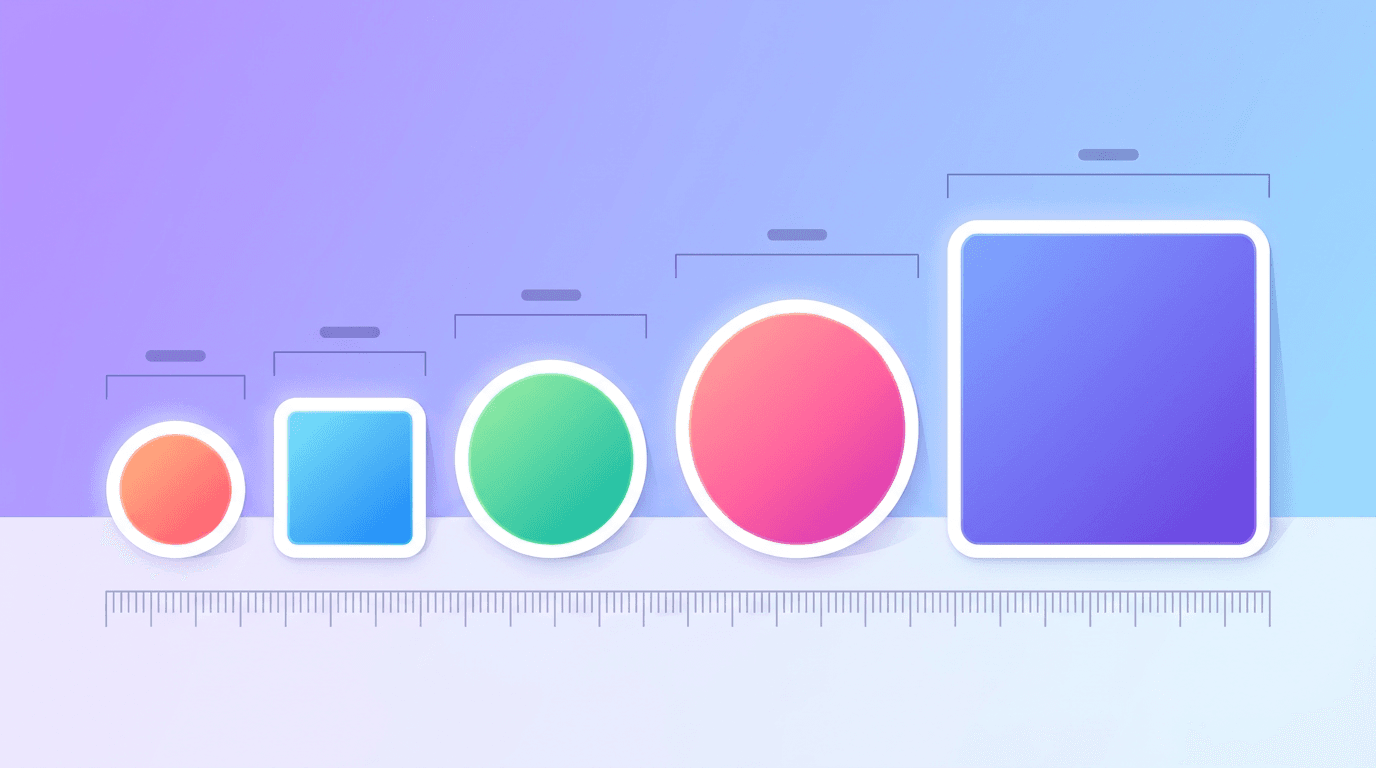
| Size | Common use |
|---|---|
| 1 x 1 in | Sticker sheets, small accents, seals |
| 2 x 2 in | Laptop stickers, packaging, giveaways |
| 3 x 3 in | The standard retail sticker size |
| 4 x 4 in | Water bottles, notebooks, statement pieces |
| 5 x 3 in | Bumper stickers and wide logos |
Three inches is the safe default if you are unsure. It is large enough for detail and small enough that people will actually stick it on things.
Mistakes That Ruin Stickers
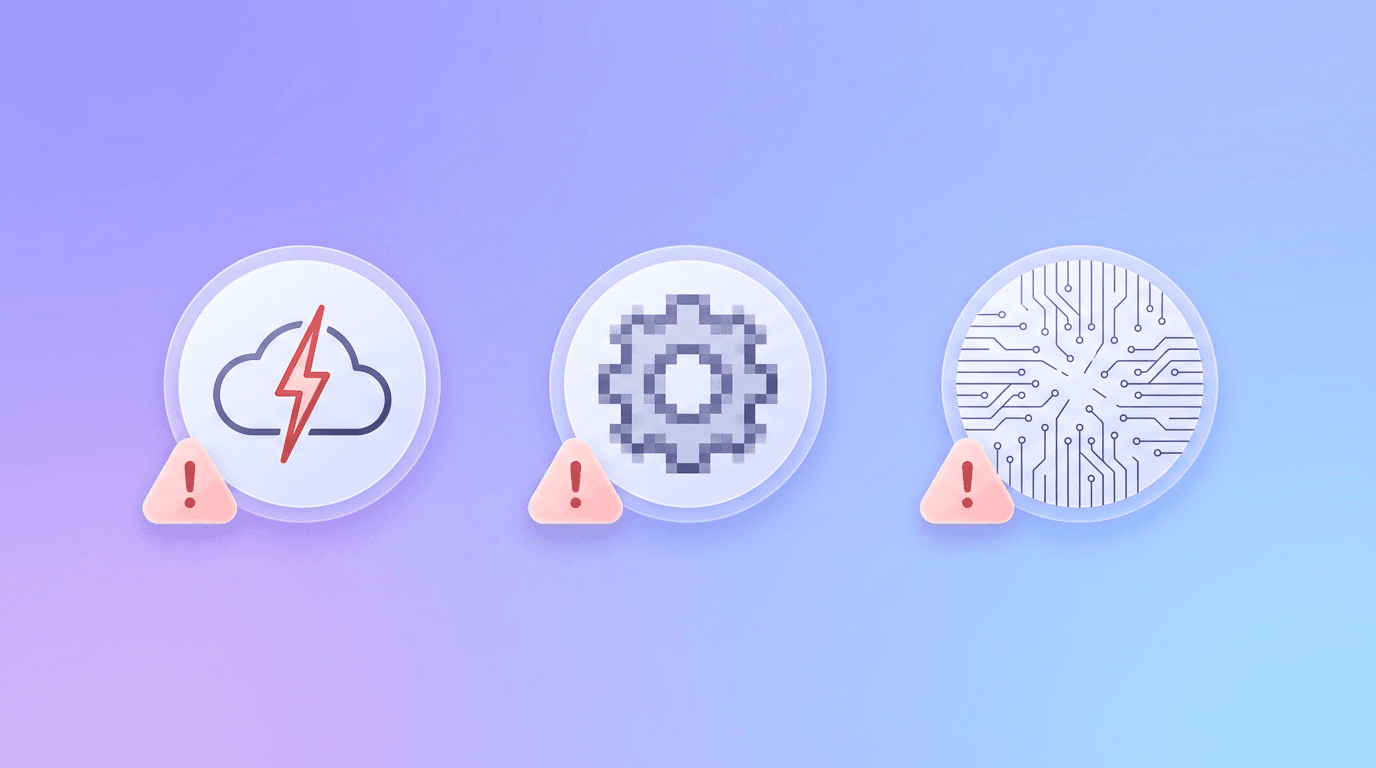
Designing at screen resolution. 72 DPI looks fine on a monitor and terrible on paper. Always 300.
No outline. Without a border, die-cut stickers look ragged and any cutting drift becomes obvious.
Too much detail. Fine linework that reads beautifully at full size turns to noise at two inches.
Forgetting bleed. Printers trim with a small tolerance. Without bleed you get thin white slivers along the edges.
Skipping the seal on paper stickers. Unsealed paper stickers smear the first time they get damp.
RGB files sent to print. Bright RGB blues and greens frequently come back duller than expected. Convert to CMYK and check before ordering hundreds.
Frequently Asked Questions
How do you create your own stickers?
Pick a method based on your goal. For a quick craft, sandwich a paper drawing between two layers of clear packing tape and stick it to parchment paper. For durable stickers, design artwork at 300 DPI with a bold outline, then print on vinyl sticker paper or send the file to a print service.
How do you make a sticker on iPhone?
Open a photo in the Photos app, press and hold on the subject until it lifts off the background, then tap Add Sticker. It saves to your sticker drawer and works anywhere the emoji keyboard appears. This requires iOS 17 or later.
Can I turn an image into a sticker?
Yes. On a phone, the built-in subject lift in iOS or WhatsApp removes the background automatically. For printed stickers, remove the background, add a 3 to 5 pixel outline around the subject, export as a 300 DPI PNG with transparency, and print on sticker paper or vinyl.
What paper do you use to make stickers?
Printable vinyl for anything that needs to be water resistant, and matte or glossy paper sticker sheets for indoor use like planners and packaging. Paper stickers should be sealed with laminate or clear acrylic spray, since unsealed ink smudges when damp.
What size should a sticker be?
Three inches is the most common retail size and a safe default. Two inches suits laptops and packaging, four inches works for water bottles and bolder designs. Whatever size you choose, design the file at that physical size plus 3 mm of bleed at 300 DPI.
Start With the Design
Every method above, other than the tape hack, comes down to the same thing: artwork with bold shapes, high contrast, a clean outline, and enough resolution to print. Nail that once and you can take the same file to a home printer, a cutting machine, or a professional print run.
If the design step is the part slowing you down, try Krumzi free and describe the sticker you want. You will get editable artwork in seconds, at the resolution printing actually requires.
A month of posts, designed before your coffee cools
Describe the post. Krumzi designs it from scratch, on your brand, fully editable.
Make your first design freeFree to make, no card. Only pay if you download it.