On this page
📌 TL;DR
A Pinterest pin is a vertical image or video that links back to your website, so design and link both matter.
The ideal pin size is 1000 x 1500 pixels (2:3 ratio). Going wider or shorter shrinks your reach.
The workflow: design a tall, on-brand graphic, write a keyword-rich title and description, add your destination link, then publish or schedule.
A pin that gets clicks needs a clear hook, readable text, and one strong focal point. You can describe the whole thing to an AI tool like Krumzi and edit from there.
Most people think making a Pinterest pin means uploading a photo and hitting publish. That is how you make a pin nobody clicks. A pin that actually drives traffic is designed on purpose: the right dimensions, a hook people cannot ignore, and a link that sends them exactly where you want.
The good news is you do not need design skills or expensive software. This guide walks through how to make a Pinterest pin from a blank canvas to a published, click-worthy graphic, plus the design and SEO details that separate pins that get saved from pins that get buried.
What Is a Pinterest Pin, Exactly?
A Pinterest pin is a piece of visual content, usually a tall image or a short video, that you save to a board on your profile. What makes a pin different from a normal social post is the destination link. Every pin can point back to a blog post, product page, or landing page, which is why Pinterest works less like a social network and more like a visual search engine that sends you traffic for months.
There are two main types worth knowing:
- Standard pins: A single tall image or video with a clickable link. This is the workhorse format and the one you will make most often.
- Idea pins: A multi-page, Story-style format (1080 x 1920) made of several slides or video. Idea pins are built to grow your audience inside Pinterest, but they historically do not link out the way standard pins do.
For driving traffic to your site, the standard pin is your best friend. That is the format this guide focuses on.
The Right Pinterest Pin Size in 2026
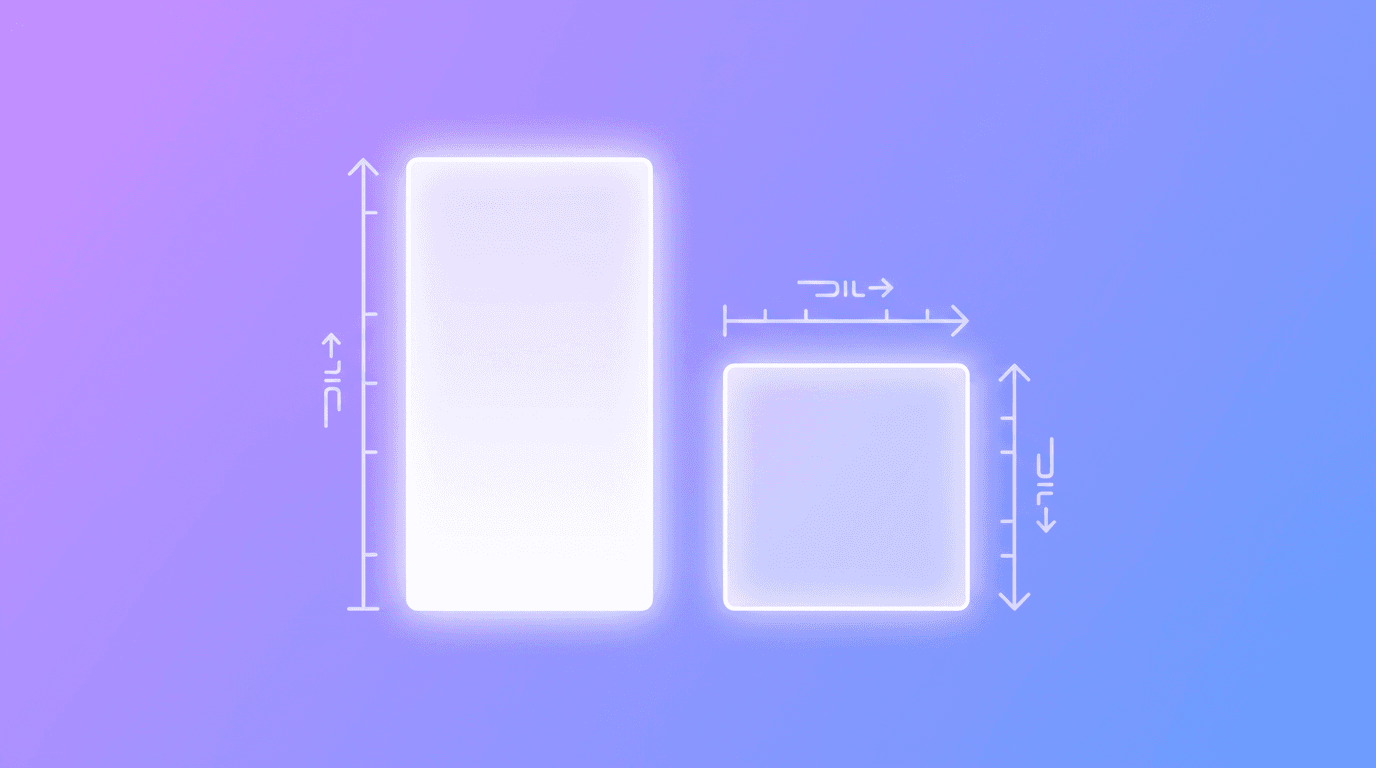
Before you design anything, get the dimensions right. Pinterest rewards tall, vertical images more than almost any other platform, and the wrong ratio gets your pin truncated or squeezed in the feed.
| Pin Type | Dimensions | Aspect Ratio | Notes |
|---|---|---|---|
| Standard pin | 1000 x 1500 px | 2:3 | Recommended. Optimal for the feed |
| Long pin | 1000 x 2100 px | 1:2.1 | Good for infographics, but may get cut off |
| Square pin | 1000 x 1000 px | 1:1 | Lower visibility, takes up less space |
| Idea pin | 1080 x 1920 px | 9:16 | Multi-page, Story-like format |
Stick with 1000 x 1500 pixels (2:3) for standard pins unless you have a specific reason not to. For the full breakdown of pin formats plus every other platform, see our complete guide to social media image sizes.
How to Make a Pinterest Pin: Step by Step
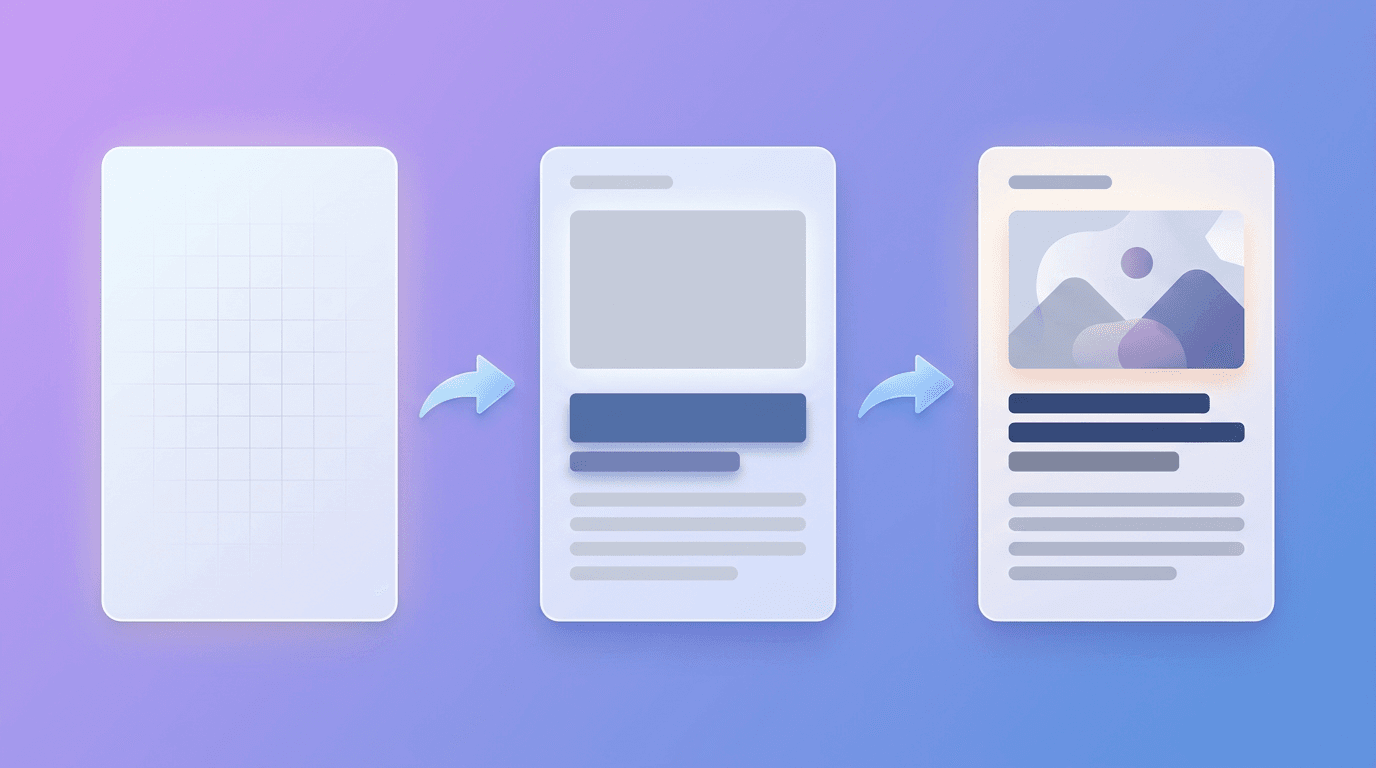
Here is the full workflow, from design to publish. Once you have done it a few times, a single pin takes about five minutes.
Step 1: Design Your Pin Graphic
This is the step most beginners rush, and it is the one that decides whether anyone clicks. Open your design tool of choice and start a project at 1000 x 1500 pixels. A strong pin design usually has:
- One clear focal point: A bold headline, a striking photo, or a single product. Not all three competing at once.
- Readable text overlay: Pinterest users scroll fast on phones, so your main text should be large and high-contrast. If you cannot read it from arm's length, make it bigger.
- Your brand colors and a logo: Even a small logo in the corner builds recognition as people see your pins repeatedly.
- A reason to click: Curiosity, a clear benefit, or a number. "5 Budget Dinners" beats "Dinner Ideas" every time.
If design is not your thing, this is where AI helps. With a tool like Krumzi, you describe the pin you want ("a 1000x1500 Pinterest pin for a blog post about cozy fall recipes, warm tones, bold headline that says 12 Cozy Fall Dinners") and the AI builds the full design, which you can then edit. For the fundamentals of prompting a design tool well, our guide on how to create social media graphics with AI covers the exact approach.
Step 2: Start a New Pin on Pinterest
With your graphic saved, head to Pinterest:
- On desktop: Click Create at the top-left of the screen, then select Create Pin.
- On mobile: Tap the plus icon at the bottom of the screen and choose Pin.
Then upload your image or video file. Drag and drop on desktop, or select it from your device on mobile.
Step 3: Write a Keyword-Rich Title
Pinterest is a search engine, so your title should describe what the pin is about using words people actually search. Aim for a clear, specific title of around 40 characters or more. "Easy 30-Minute Weeknight Dinners" tells both the user and Pinterest's algorithm exactly what they are getting. Vague titles like "Yum" get ignored by both.
Step 4: Add a Searchable Description
Your description can run up to 500 characters. Use it to add context and natural keywords, not a keyword dump. Write a sentence or two that a real person would find helpful, work in the phrases your audience searches, and end with a soft nudge to click through. This text helps Pinterest understand and rank your pin.
Step 5: Add Your Destination Link
This is the whole point of a standard pin. Paste the URL you want traffic to go to: your blog post, product page, freebie, or landing page. Without a link, your pin is just a pretty picture that cannot send anyone anywhere.
Step 6: Choose a Board and Publish (or Schedule)
Select the most relevant board to save your pin to. A well-organized, keyword-named board gives your pin extra context. Then either click Publish to go live immediately, or use Pinterest's built-in scheduler to post it at a better time. Spacing pins out with the scheduler is smarter than dumping ten at once.
What Makes a Pinterest Pin Get Clicks
Publishing a pin is easy. Getting it clicked is where strategy comes in. The best-performing pins almost always share these traits:
- A hook in the first glance: Lead with the benefit or the curiosity gap. People decide in under a second whether to stop.
- Text that survives a thumbnail: Pins are small in the feed. Big, bold, high-contrast type wins. Thin gray text on a busy photo loses.
- A vertical 2:3 format: Taller pins take up more screen space, which means more attention. We dig into focal points, contrast, and hierarchy in our guide on how to design social media posts that stand out.
- Fresh variations: Pinterest favors fresh pins. Make three or four different designs for the same blog post rather than repinning one image over and over.
- Consistent branding: When your pins share a color palette and font style, your audience starts recognizing your content before they even read your name.
That last point is where speed matters. Making four fresh pin designs by hand is tedious. Describing four variations to an AI tool and editing the best ones takes minutes, which is how consistent pinners keep their feed full without burning out. If you want your whole presence to look cohesive, our guide on making your social media look professional ties it together.
Common Pinterest Pin Mistakes to Avoid
- Using a horizontal image: Landscape photos get lost. Always go vertical.
- Forgetting the link: A pin without a destination link cannot drive traffic. Double-check it before publishing.
- Tiny, unreadable text: If the headline is not legible at thumbnail size, it is not doing its job.
- One pin per post: Create multiple fresh designs to give each blog post more chances to get discovered.
- Ignoring keywords: A beautiful pin with a vague title and empty description will not surface in search.
Frequently Asked Questions
How do I create a new pin on Pinterest?
Click Create at the top-left on desktop (or tap the plus icon on mobile), choose Create Pin, then upload your image or video. Add a title, a description, and your destination link, pick a board, and publish. The whole process takes a couple of minutes once your graphic is ready.
What size should a Pinterest pin be?
The recommended size is 1000 x 1500 pixels, a 2:3 aspect ratio. This vertical format takes up the most space in the feed and is favored by Pinterest's layout. Avoid going wider than 2:3, since taller-than-recommended or square pins can get cropped or earn less reach.
What is the difference between a pin and an idea pin?
A standard pin is a single image or video with a clickable link that sends people to your website. An idea pin is a multi-page, Story-style format designed to grow your audience inside Pinterest, and it traditionally does not link out the same way. Use standard pins when your goal is traffic.
Why won't Pinterest let me create a pin?
This is usually a temporary account issue. Pinterest may limit pin creation if your account is new, if it detects spam-like behavior such as rapid bulk posting, or if a pin violates community guidelines. Slow down your posting pace, make sure your content follows the rules, and the ability typically returns.
How do I make a Pinterest pin for free?
You can design a pin at no cost using free design tools, then upload it to Pinterest, which is also free. Start a 1000 x 1500 canvas, add your image and text, and publish. AI design tools like Krumzi also let you generate pin-sized graphics from a description during a 7-day free trial (trial exports are watermarked), which is the fastest way to make several fresh variations.
Start Pinning
Making a Pinterest pin is not complicated, but making a pin that drives traffic takes intention. Design tall and on-brand, lead with a hook, write a keyword-rich title and description, and never forget the link. Do that consistently and Pinterest becomes a traffic source that keeps working long after you hit publish.
Start with one pin for your most popular blog post or product. Design it, publish it, then make three more variations and watch which one performs best. For more ways to turn AI into a content engine, browse our roundup of the best AI design tools in 2026.
Related reading:
A month of posts, designed before your coffee cools
Describe the post. Krumzi designs it from scratch, on your brand, fully editable.
Make your first design freeFree to make, no card. Only pay if you download it.