On this page
- What You Need Before You Start
- Step 1: Choose Your Menu Type
- Step 2: Organize Items Into Logical Categories
- Step 3: Write Descriptions That Sell
- Step 4: Price With Psychology in Mind
- Step 5: Design the Layout
- Step 6: Create Your Menu Without a Designer
- Step 7: Export, Print, and Publish
- Step 8: Test and Update Regularly
- Frequently Asked Questions
- Make a Menu That Works as Hard as You Do
A menu is not just a list of food. It is the single most-read piece of marketing your restaurant, cafe, or food truck owns, and small changes to how you build it can change what customers order and how much they spend.
The problem is that most menus are thrown together in a word processor, cluttered with too many items, and priced in a way that quietly pushes people toward the cheapest option. This guide shows you how to make a menu the right way in 2026: from planning your items to pricing psychology, layout, and designing a professional-looking menu without hiring a designer.
What You Need Before You Start
Before you open any design tool, get these basics down. A great menu is 80 percent planning and 20 percent design.
- Your final item list. Every dish or product you actually want to sell.
- Confirmed prices. Costed out so each item hits your target margin.
- Short descriptions. A line or two per item, written to make mouths water.
- Your brand assets. Logo, brand colors, and one or two fonts.
Have those ready and the design part becomes quick.
Step 1: Choose Your Menu Type
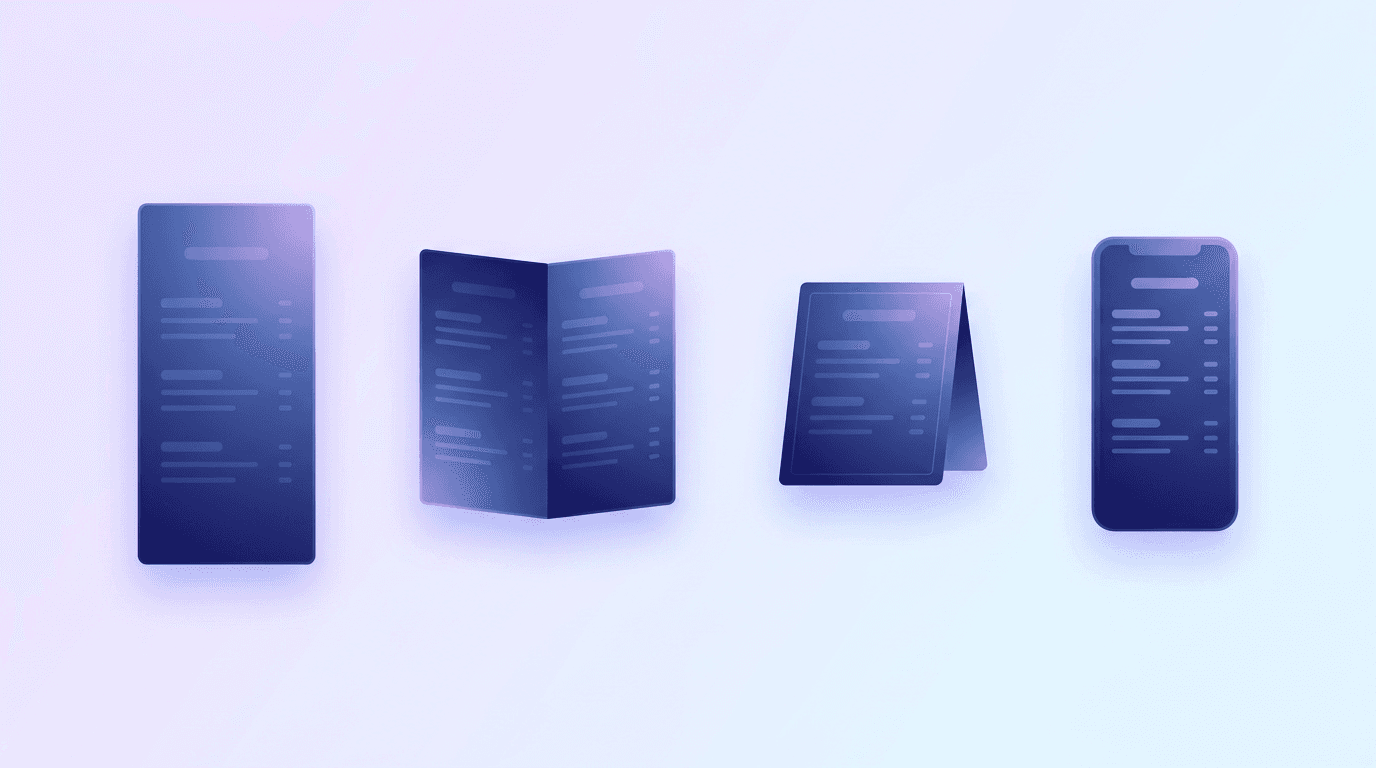
Different situations call for different menu formats. The most common types are:
- A la carte: Each item is priced individually. The most flexible and common format.
- Prix fixe (set menu): One price for a multi-course meal. Great for events and upscale dining.
- Seasonal menu: Rotates with ingredients that are fresh and cheap at that time of year.
- Digital or QR menu: Viewed on a phone, easy to update, and increasingly expected.
- Drinks or dessert menu: A separate, focused menu that encourages add-on sales.
Most businesses need a main a la carte menu plus one supporting menu (drinks or dessert). Decide which you are building before you design.
Step 2: Organize Items Into Logical Categories
Group your items into clear sections so customers can scan without thinking. Typical categories are starters, mains, sides, desserts, and drinks, but your business may need custom groups like "signatures" or "for the table."
Here is a rule that pays off: keep each category to around seven items or fewer. A shorter list feels curated and confident. A giant list overwhelms people, slows the kitchen, and increases waste. If you sell dozens of products, use tight categories rather than one endless column.
Step 3: Write Descriptions That Sell
Good descriptions do more than list ingredients. They set expectations and add perceived value. A few principles:
- Lead with the hero ingredient. "Slow-roasted pork" beats "pork dish."
- Use sensory words. Crispy, smoky, house-made, and zesty all make food feel more appealing.
- Keep it short. One appetizing line is enough. Two at most.
- Name the source when it helps. Local, organic, or a specific farm name builds trust for the right audience.
Step 4: Price With Psychology in Mind
How you present prices changes spending more than the prices themselves. Restaurant researchers have studied this for years, and a few tactics consistently work:
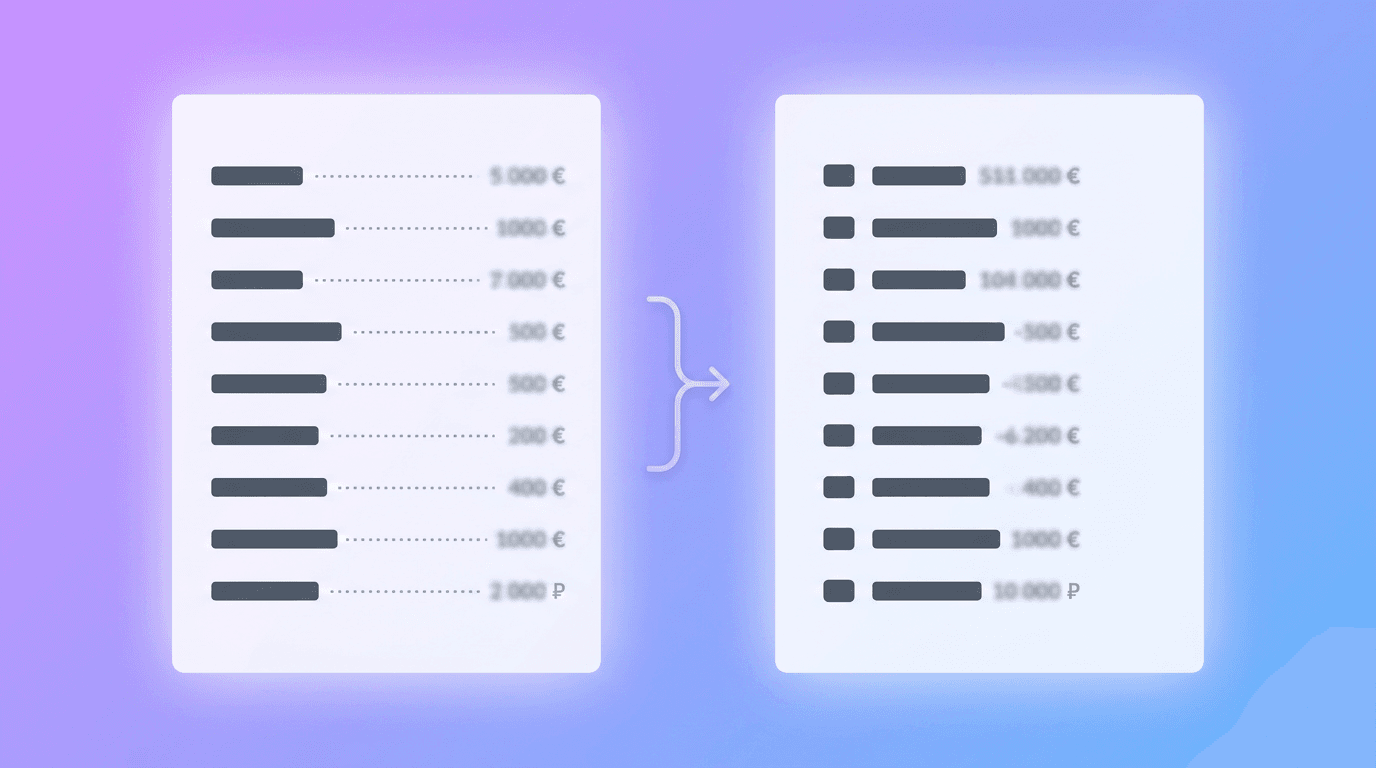
- Drop the currency symbol. Menus that list "14" instead of "$14" often see higher spending, because the symbol reminds people they are spending money.
- Avoid a straight price column. When every price lines up in a neat right-hand column, customers scan down it and pick the cheapest. Place prices right after the description instead.
- Anchor with a premium item. One high-priced dish makes everything else look reasonable by comparison.
- Use charm pricing sparingly. Prices ending in .95 feel value-focused, while round numbers feel more upscale. Match this to your brand.
Step 5: Design the Layout
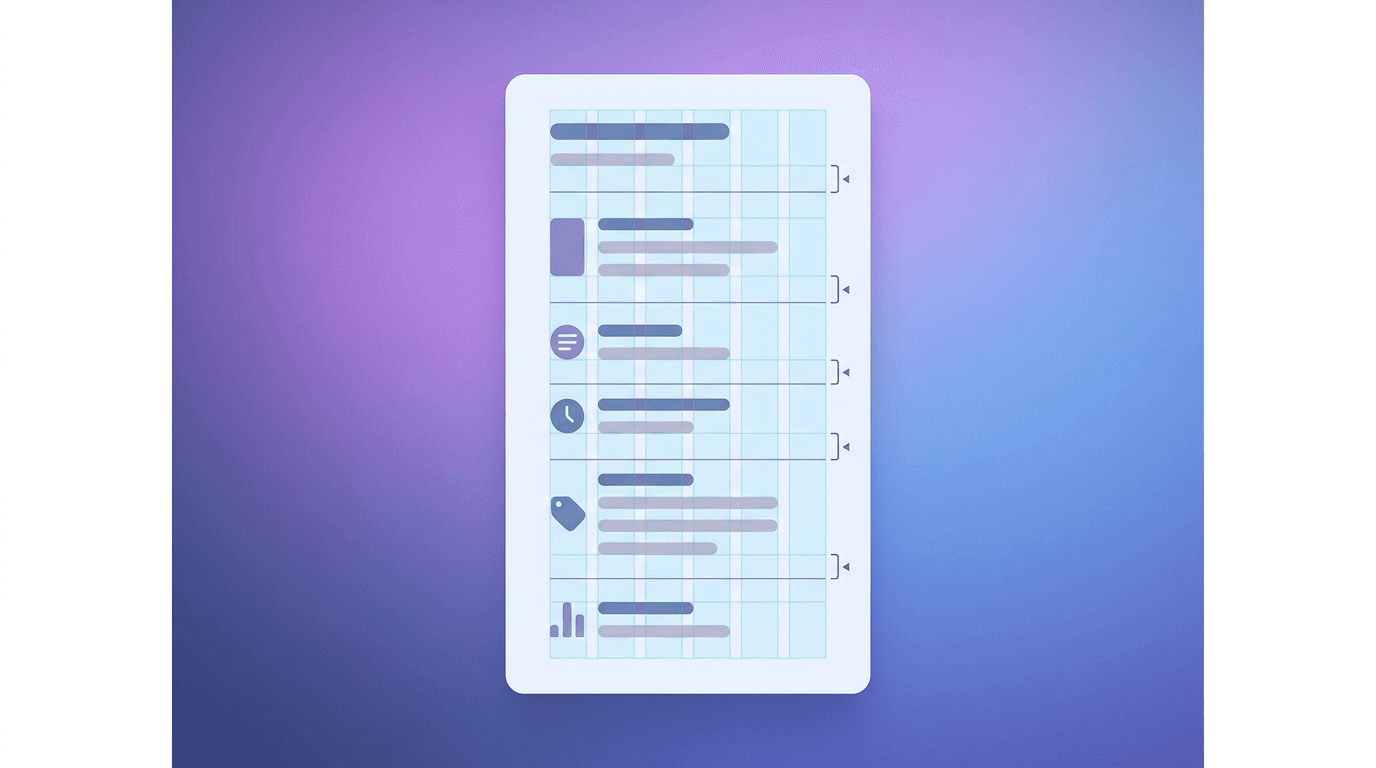
Now bring it together visually. The goal is a menu that is easy to read and guides the eye to your most profitable items.
- Use the sweet spot. On a single-page menu, eyes tend to land in the upper-right and center first. Place your highest-margin or signature items there.
- Give it breathing room. White space makes a menu feel premium and readable. Cramming items to save paper backfires.
- Limit fonts and colors. Two fonts and two or three brand colors keep it clean. One display font for headings, one simple font for body text.
- Highlight strategically. Use a box, icon, or subtle color to draw attention to one or two items. Highlight everything and you highlight nothing.
- Make it legible. Body text should be readable in dim restaurant lighting, so avoid tiny fonts and low-contrast color combinations.
Step 6: Create Your Menu Without a Designer
You do not need to hire a designer or master complicated software. With an AI design tool like Krumzi, you describe the menu you want ("a clean one-page dinner menu for an Italian trattoria, warm cream background, three sections, our logo at the top") and the AI designs a professional layout for you. Everything stays fully editable, so you can swap items, adjust prices, and tweak colors in seconds.
That matters for menus specifically, because you will update this thing constantly as prices and seasons change. A layout you can edit yourself beats a one-time design you have to pay someone to touch. If you are still setting up your visual identity, our guide on how to create a brand kit with AI will keep your menu consistent with the rest of your marketing.
Step 7: Export, Print, and Publish
Once your menu looks right:
- For print, export a high-resolution PDF and confirm the dimensions match your printer or menu holders (common sizes are 8.5 x 11 in, 8.5 x 14 in, and 11 x 17 in).
- For digital or QR menus, export a clear image or PDF and link it to a QR code so customers can scan and view on their phones.
- Proofread everything. Check prices, spelling, and allergen notes twice. A pricing typo on a printed run is expensive.
Step 8: Test and Update Regularly
A menu is never truly finished. Track which items sell, drop the ones that do not, and revisit your layout every season. Because you can edit an AI-generated menu yourself, updating prices or swapping a seasonal special takes minutes, not another design invoice.
Frequently Asked Questions
What are the 5 basic steps of menu planning?
The five basic steps are: choose your menu type, list and cost your items, group items into categories, write short selling descriptions, and set prices with your margins and psychology in mind. Design comes after these are locked in.
How can I make a menu for free?
You can make a menu for free using an AI design tool. Describe the menu you want, generate a layout, edit the items and prices, then export it as a PDF or image for print or digital use, all without design skills.
What are the most common types of menus?
The most common types are a la carte, prix fixe (set menu), seasonal menus, drinks or dessert menus, and digital or QR menus. Most businesses use a main a la carte menu plus one supporting menu.
How many items should be on a menu?
Aim for around seven items or fewer per category. A shorter, curated menu is easier to scan, faster for your kitchen, and reduces food waste compared to a long list.
What size should a printed menu be?
Common printed menu sizes are 8.5 x 11 in, 8.5 x 14 in, and 11 x 17 in. Choose the size that fits your menu holders and the amount of content, then export a high-resolution PDF for printing.
Make a Menu That Works as Hard as You Do
A strong menu plans the items first, prices with intent, and uses a clean layout to guide customers toward your best dishes. Nail those and your menu becomes a quiet salesperson working every table.
When you are ready to build it, describe what you want and let Krumzi design an editable, professional menu in seconds. From there, our guides on creating marketing materials without a designer and designing a business card round out the rest of your brand.
A month of posts, designed before your coffee cools
Describe the post. Krumzi designs it from scratch, on your brand, fully editable.
Make your first design freeFree to make, no card. Only pay if you download it.