On this page
- What a Transparent PNG Actually Is
- Method 1: One Click Background Removal
- Method 2: Export With a Transparent Background From a Design Tool
- Method 3: Photoshop
- Method 4: Free Online Tools
- Method 5: Make an Existing White Background Transparent
- How to Check a Transparent PNG Before You Send It
- PNG or WebP: Which Should You Use
- Where Transparent PNGs Matter Most
- Frequently Asked Questions
You send your logo to a partner. It goes on their dark blue slide. And there it is, sitting inside a bright white rectangle like a sticker somebody forgot to trim.
That is what a missing transparent PNG looks like, and it is one of the most common self inflicted branding problems there is. The fix takes about a minute once you know which of two things went wrong: the background was never actually removed, or it was removed and then flattened on export.
Here is how to make a transparent PNG properly, five ways to do it, and how to check the result before you send it anywhere.
What a Transparent PNG Actually Is
A transparent PNG is an image with an alpha channel, an extra layer of data that records how opaque each pixel is. Pixels set to zero opacity show whatever sits behind them, which is what lets a cut out logo sit cleanly on any background.

That alpha channel is a property of the file format, not of the image. As MDN documents, PNG, WebP, GIF, and AVIF support transparency. Baseline JPEG does not, and never will. So a perfectly cut out logo saved as a JPG will always have a solid background, no matter how the preview looked.
One useful distinction. PNG supports full alpha transparency, meaning pixels can be partially transparent, which is what makes soft edges and drop shadows look natural. GIF only supports binary transparency, where a pixel is either fully visible or fully hidden, which is why GIF cut outs have hard, jagged edges.
Method 1: One Click Background Removal
The fastest route for photos. Background removal tools use image segmentation to detect the subject and delete everything else, then export with the alpha channel intact.
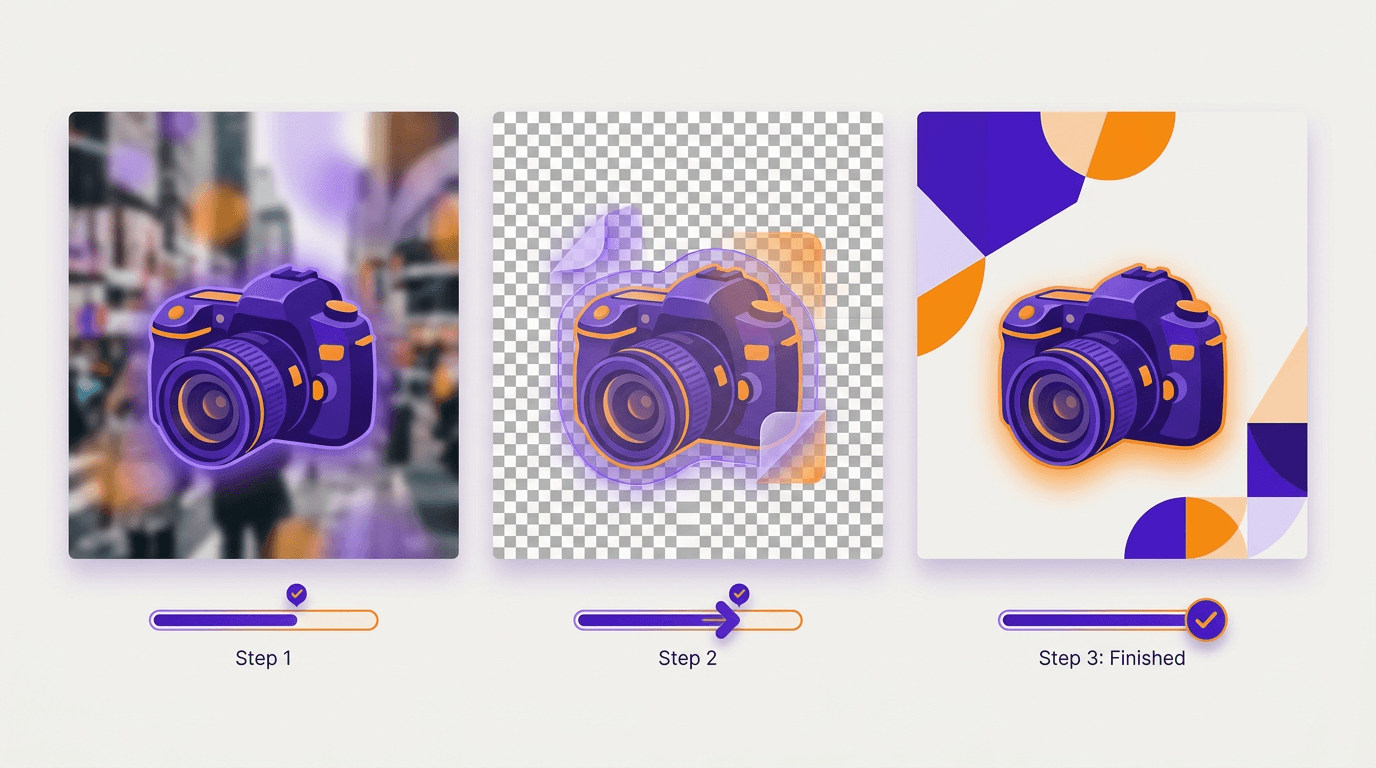
The process is always the same: upload, wait a few seconds, check the edges, download as PNG.
This works extremely well on product shots, people against plain backgrounds, and anything with a clear subject. It struggles with three things: fine hair, transparent or reflective objects like glass and water, and subjects that are similar in colour to what is behind them.
If the background removal is part of building something, a product card, a social post, a thumbnail, doing it inside your design tool saves a round trip. In Krumzi, background removal is one click on any image already on the canvas, and export has a transparent background toggle at up to 4x resolution, so you can pull out a clean cut out PNG or keep working with it in place.
Best for: photographs and product images.
Method 2: Export With a Transparent Background From a Design Tool
If the artwork is something you made, a logo, an icon, a badge, a sticker, there is nothing to remove. You just need to not add a background.
Two things to check before exporting:
- Delete or hide the background layer. A white rectangle sitting at the bottom of your layer stack is still a white rectangle. Hide it and confirm you can see a checkerboard pattern behind your artwork.
- Find the transparent background option at export. Almost every design tool has it, and almost every tool leaves it off by default. It is usually a checkbox in the download dialog, and it only appears once you have selected PNG or WebP as the format.
That second step is where most transparent PNG problems actually come from. The background was removed correctly, and then the export dialog quietly flattened it.
Best for: logos, icons, and anything vector based.
Method 3: Photoshop
The manual route, and still the most precise.
Open your image and unlock the background layer by clicking the padlock in the Layers panel. Make your selection with whichever tool suits the subject: Object Selection for clear shapes, the Pen tool for hard edged products, Select and Mask for hair and fur.
Then add a layer mask rather than pressing delete. A mask hides pixels instead of destroying them, so you can refine the edge afterwards instead of starting over.
Export with File, then Save a Copy, and choose PNG. Make sure Transparency is ticked.
Best for: difficult subjects and high value assets where the edge quality matters.
Method 4: Free Online Tools
Plenty of browser based tools will remove a background or convert an image to a transparent PNG at no cost. They are fine for one offs, with three caveats.
Check the output resolution. Many free tools cap downloads at around 500 x 500 pixels and charge for full resolution. That is usually how the free tier works.
Check the format. If the only download option is JPG, transparency is impossible regardless of what the preview shows.
Think about what you are uploading. Your file is going to somebody else's server. For a stock photo that is fine. For an unreleased product or an image of a person, less so.
Best for: a single image, once, when quality is not critical.
Method 5: Make an Existing White Background Transparent
Sometimes you already have a logo, but it came as a JPG with a white background, and the original is long gone.
The naive fix is to select all the white and delete it. That works on flat graphics with hard edges, and it fails badly on anything with soft edges or anti aliasing, because the semi white pixels around the edges get left behind as a pale halo.

Better approaches, in order of quality:
- Use a blend mode as a temporary fix. Setting the image to Multiply makes white areas disappear on light backgrounds. It is not real transparency and it breaks on dark backgrounds, but it will get you through a deck.
- Run it through background removal. Modern segmentation handles a white background trivially and produces a proper feathered edge.
- Redraw it. For a logo you will use for years, tracing it back into vector form and re exporting is worth the hour. Everything downstream gets easier.
The halo test: drop your new transparent PNG onto a black background. Any leftover white fringe becomes instantly obvious.
How to Check a Transparent PNG Before You Send It
Three checks, thirty seconds.

- Put it on black. White boxes and pale halos are invisible on a white page and glaring on a dark one. This one test catches nearly every transparency problem.
- Zoom to 400 percent on the edges. Look for stair stepping, leftover colour fringing, or a hard cut through what should be a soft edge.
- Check the file size. A transparent PNG of a simple logo should be small, often under 100 KB. A multi megabyte PNG usually means a photographic background is still in there.
PNG or WebP: Which Should You Use
Both support transparency. The difference is size and reach.
| Format | Transparency | Typical size | Use when |
|---|---|---|---|
| PNG | Full alpha | Larger | Logos, sharing files with others, print workflows |
| WebP | Full alpha | 25 to 35 percent smaller | Website images where load speed matters |
| GIF | Binary only | Small | Rarely, and only for simple animations |
| JPG | None | Small | Photographs with no transparency needed |
Practical rule: WebP on your own website, PNG for everything you hand to somebody else. WebP is supported by every current browser, but PNG is what design tools, office software, and print shops all accept without argument.
Where Transparent PNGs Matter Most
Logos. The single most important transparent asset your brand owns. Every logo variant should exist as a transparent PNG, and our guide to building a brand kit with AI covers which variants you actually need.
Product cut outs. A product floating on a brand colour looks considered. The same product in a white box looks like it was pasted in.
Stickers and die cut prints. Transparency defines the cut line. Our guide to making stickers covers the outline and bleed side of that.
Animated logos and overlays. Anything moving over video needs transparency, and our animated logo guide goes deeper on the file formats involved.
Social graphics. Layering a cut out subject over a background is one of the fastest ways to make a post look designed rather than assembled. Our guide to creating social media graphics with AI has more on that workflow.
Frequently Asked Questions
Why does my PNG still have a white background?
Two likely causes. Either the transparent background option was left off in the export dialog, which is the default in most tools, or there is still a white rectangle sitting at the bottom of your layer stack. Open the file and check for a checkerboard pattern behind the artwork. If you see white instead of checkerboard, the background is still there.
Can a JPG be transparent?
No. Baseline JPEG has no alpha channel, so it cannot store transparency information at all. If you save a cut out image as a JPG, the transparent areas get filled with white. Save as PNG or WebP instead. This is the single most common reason a transparent image stops being transparent.
How do I make a logo transparent for free?
If you have the source file, hide the background layer and export as PNG with transparency enabled. If you only have a flattened JPG, run it through a background removal tool, then check the edges on a black background for leftover white fringing. For a logo you will use long term, tracing it back to vector and re exporting is worth doing once.
Does transparency affect image quality or file size?
Transparency itself does not reduce quality, but PNG files are larger than JPGs because PNG uses lossless compression. For a flat logo the difference is negligible and often smaller. For a photograph with a transparent background, expect a noticeably larger file, which is where WebP helps: it supports full alpha and is typically 25 to 35 percent smaller than the equivalent PNG.
What size should a transparent PNG logo be?
Export at roughly twice the largest size you will display it. For most web use, 1000 to 2000 pixels on the longest side covers everything from a favicon to a hero image. Keep one high resolution master and scale down from it, since scaling down preserves quality and scaling up never does.
A month of posts, designed before your coffee cools
Describe the post. Krumzi designs it from scratch, on your brand, fully editable.
Start free trial3-day free trial, card needed. No charge until day 4. Cancel online anytime.