On this page
A booklet is the format people reach for when a flyer is too small and a website is too far away. Event programmes, product catalogues, onboarding packs, workshop handouts, menus with more than one page: they are all booklets.
And they are also where most first time designers get burned, usually by the same two things. Page count and page order.
This guide walks through making a booklet end to end: planning the pages, picking a size, laying out the content, keeping type out of the danger zone, and exporting a file your printer will actually accept.
What Counts as a Booklet
A booklet is a short, bound multi page document, typically 8 to 32 pages, held together with staples or stitching rather than a spine. Anything under 8 pages is usually a folded leaflet. Anything over about 48 pages needs a different binding method and starts behaving like a book.
The defining constraint is this: a saddle stitched booklet always has a page count divisible by four. One folded sheet makes four pages. There is no such thing as a 10 page saddle stitched booklet. If your content runs to 10 pages, you are printing 12 and deciding what to do with the two spare.
Step 1: Plan Your Page Count First
Before you design anything, sketch the page map. This takes five minutes and saves an entire redesign.
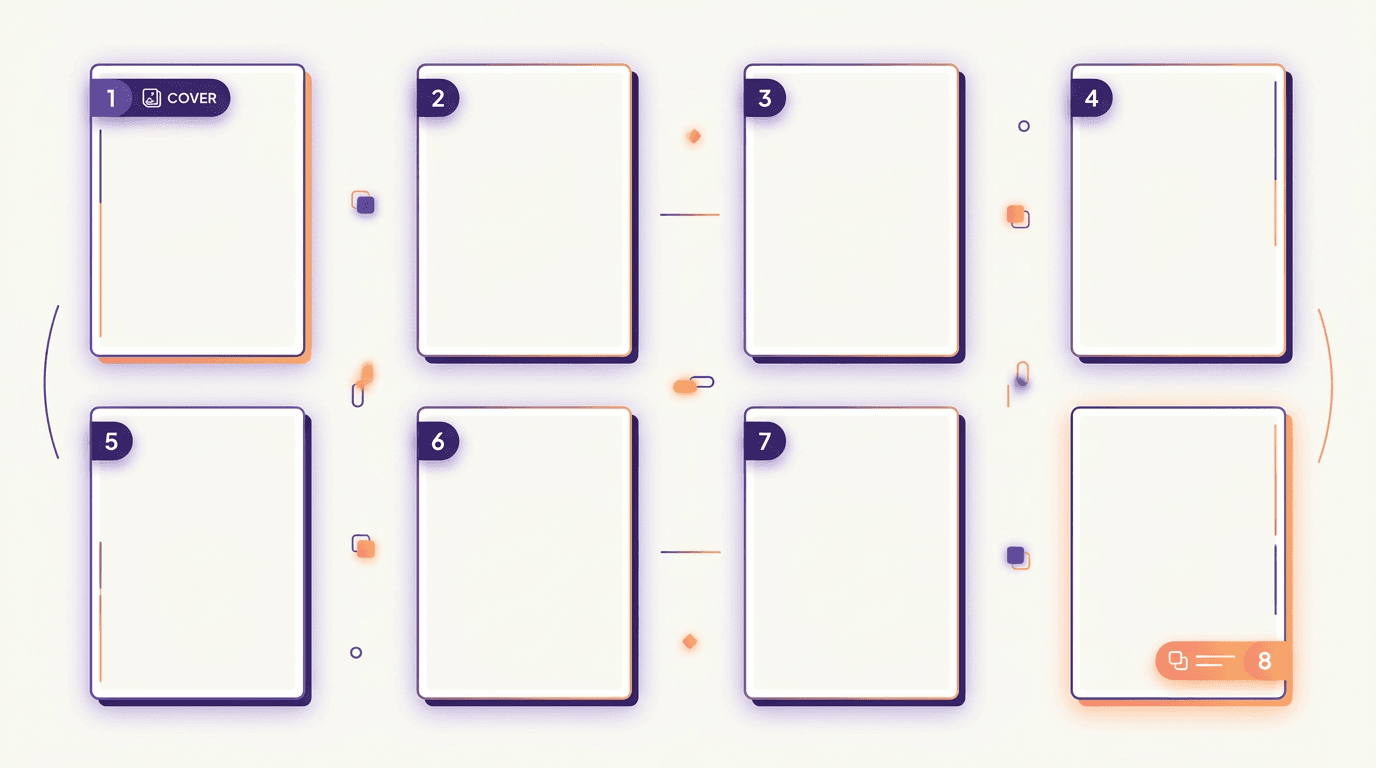
Every booklet has four page roles:
- Front cover. Title, one image, and nothing else. Covers fail by being crowded.
- Inside front. Often a contents page, a welcome note, or intentionally left light.
- Inside pages. The actual content, usually planned in spreads of two facing pages.
- Back cover. Contact details, a call to action, and a QR code if there is anywhere to send people.
Work in spreads, not single pages. Readers see two pages at once, so a headline on the left and its supporting image on the right is one design decision, not two.
Common page counts and what fits comfortably:
| Pages | Sheets | Typical use |
|---|---|---|
| 8 | 2 | Event programme, short menu, service overview |
| 12 | 3 | Product line sheet, workshop handout |
| 16 | 4 | Small catalogue, annual summary |
| 20 to 24 | 5 to 6 | Full catalogue, conference programme |
| 32 | 8 | Lookbook, detailed guide |
Step 2: Choose Your Page Size
Size decides cost, feel, and how much you can fit. Pick it before you lay anything out, because changing it later reflows everything.
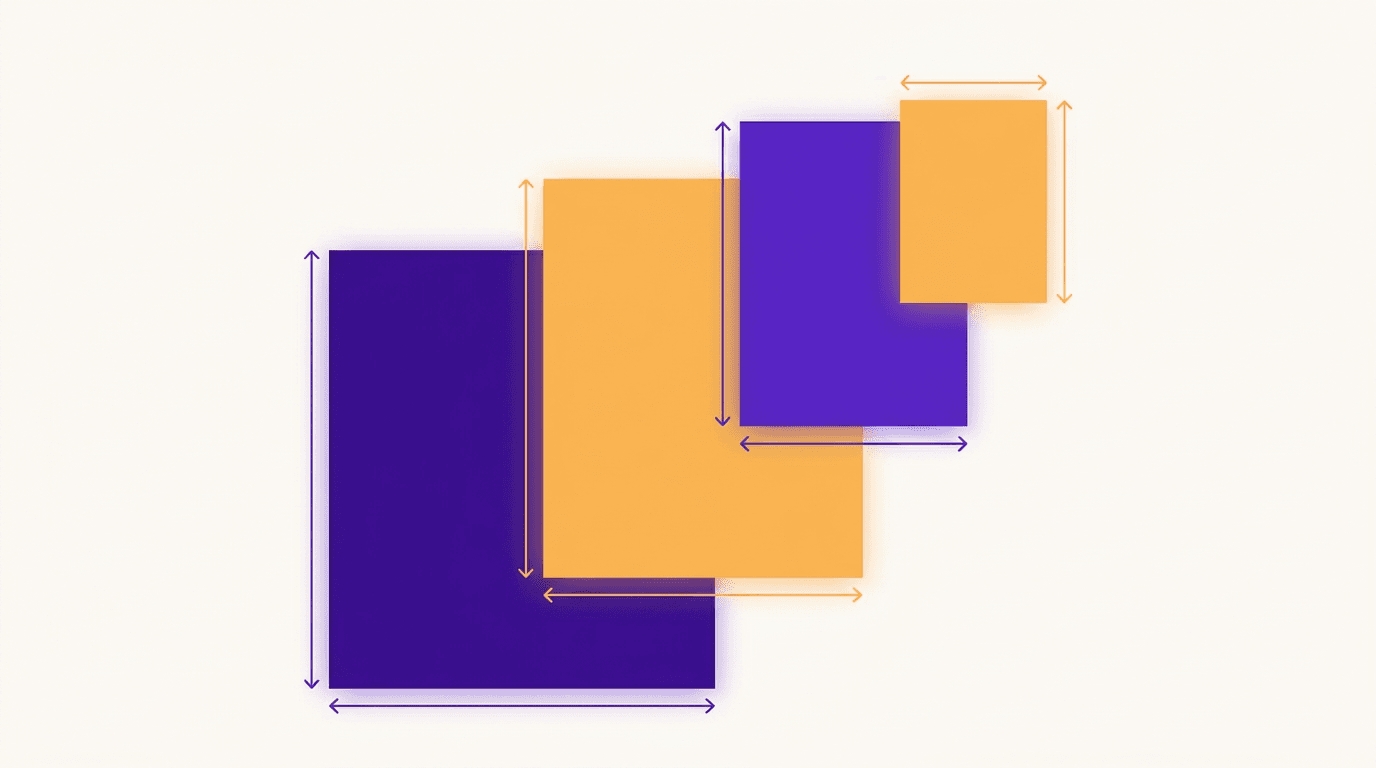
| Size | Dimensions | Best for |
|---|---|---|
| A4 | 210 x 297 mm | Catalogues, reports, anything with tables |
| US Letter | 8.5 x 11 in | The A4 equivalent in North America |
| A5 | 148 x 210 mm | Programmes, handouts, the most common booklet size |
| Half Letter | 5.5 x 8.5 in | The A5 equivalent in North America |
| A3 | 297 x 420 mm | Large format lookbooks and display pieces |
| DL | 99 x 210 mm | Slim inserts and rack cards |
A5 is the default for a reason. It feels substantial, it is cheap to print, it fits in a bag, and it forces you to edit. If you are unsure, start at A5 portrait. The A series itself is defined by ISO 216, which is why every A size has the same proportions: fold an A4 in half and you get an A5.
One practical note: A sizes and US sizes are not interchangeable. If your printer is in the US and you design at A4, expect either a rescale or white margins. Ask the printer which they run before you start.
Step 3: Set Up Safe Margins and the Gutter
This is the step that separates booklets that look printed from booklets that look homemade.
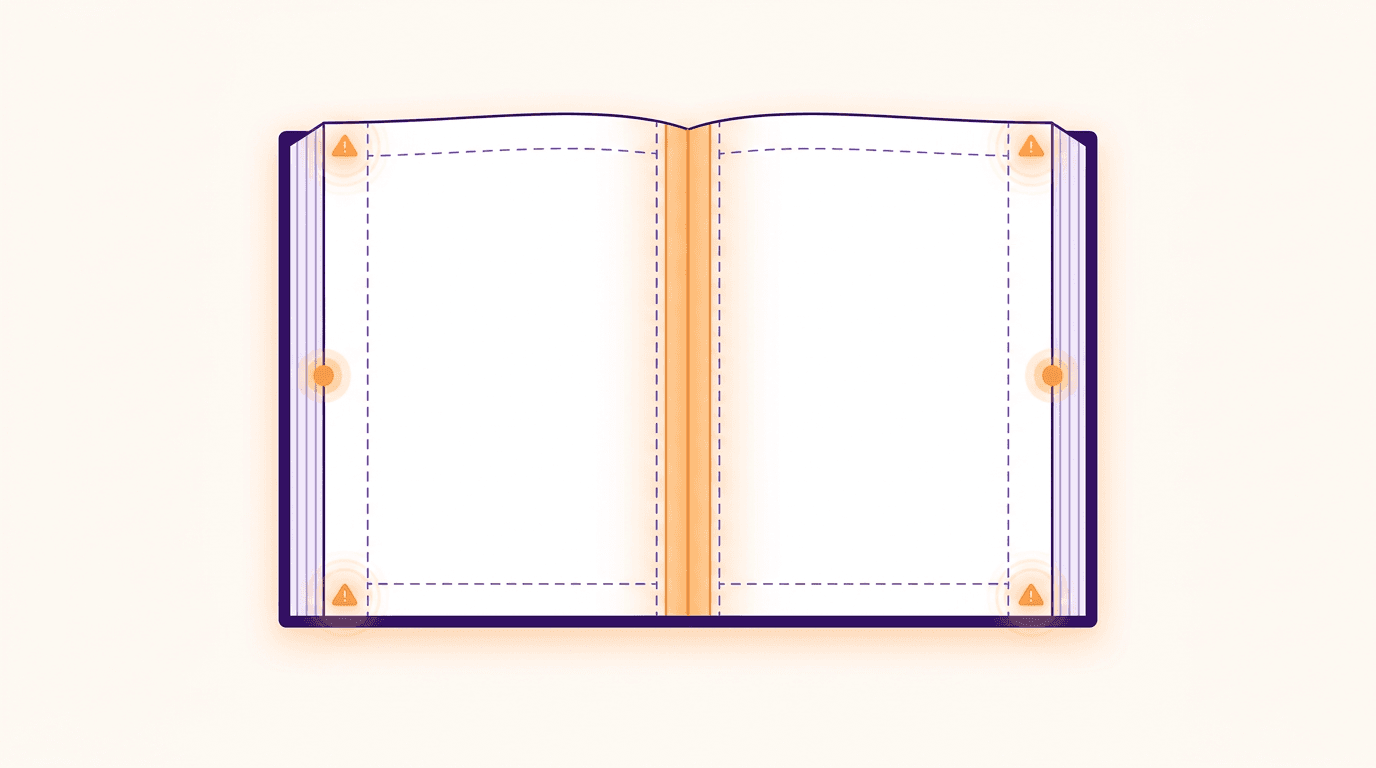
Safe margin. Keep all text and important elements at least 10mm, or about 0.4 inches, from every trim edge. Cutting equipment has tolerance. Text that sits 3mm from the edge on screen can end up 1mm from the edge, or sliced, on paper.
Gutter. The inner margin where the pages meet the fold needs more room than the outer margin, usually 5mm more. On a thicker booklet, pages near the centre curve into the fold and swallow content placed too close to it.
Bleed. If any colour, photo, or block runs to the edge of the page, it needs to extend past the trim line, usually by 3mm. Without bleed, tiny white slivers appear along the edge after cutting. Not every design tool supports bleed, so if yours does not, either keep everything inside the margins or ask your print shop to add bleed for you. Most will.
Creep. On booklets over 16 pages, the inner pages stick out slightly further than the outer ones when folded, so the trim shaves a little more off their outer edge. Printers compensate for this automatically, but it is another reason to respect that 10mm margin.
Step 4: Design the Pages
With the structure decided, the design work is mostly about consistency.
Lock a type scale and use it everywhere. Three sizes is enough: a heading, a subheading, and body. A booklet where page four uses different type sizes than page six reads as sloppy even when nobody can say why.
Use a grid. A simple two or three column grid on every page gives you alignment for free and makes the whole thing feel designed rather than assembled.
Repeat one visual device. A coloured rule under every heading, a consistent image treatment, a page number in the same corner. Repetition is what makes a set of pages feel like one document.
Keep body text between 9 and 11pt. Smaller and it becomes unreadable in print, which is much less forgiving than a screen. Line length should sit around 60 to 75 characters, which lines up with the readability guidance in the W3C's WCAG recommendations.
Number your pages. Obvious, and constantly forgotten. Covers are usually left unnumbered.
If you would rather not build 16 pages by hand, this is exactly the kind of job AI design tools now handle well. With Krumzi, you describe the booklet you want, pick a document format from A4 through DL, set a page count between 2 and 12, and the AI generates the full set of pages with real page roles for the cover, inside pages, and back cover. Dashed safe margin guides are drawn in, everything stays editable in a real editor afterwards, and the export is a multi page print ready PDF at 300 dpi. Worth knowing up front: it produces flat pages, so folding, imposition, and any bleed setup happen at the print shop rather than in the file.
For single page pieces that live alongside a booklet, our guides on making a flyer with AI and designing a menu cover the same principles at a smaller scale, and our overview of creating marketing materials without a designer covers how a booklet fits alongside the rest of your collateral.
Step 5: Export a Print Ready PDF
Your printer wants one file. Get these five things right and there will be no back and forth.
- 300 dpi. Web images at 72 dpi look sharp on screen and mushy on paper. Any photo you place should be at least 300 dpi at the size it prints.
- A single multi page PDF, in reading order. Pages 1, 2, 3, and so on. Do not try to arrange them into printer spreads yourself.
- Embedded fonts. PDF export usually handles this, but check. Missing fonts get substituted and your layout shifts.
- Colour mode. Most digital printers now accept RGB and convert it. Offset printers usually want CMYK. Ask before exporting, because deep blues and bright oranges shift noticeably in conversion. If your printer sends you an ICC profile, use it: the International Color Consortium maintains the standard those profiles are built on.
- No crop marks unless asked. Modern print shops add their own.
Step 6: Let the Printer Handle Imposition
Here is the mistake worth naming clearly, because it wastes more time than anything else on this list.
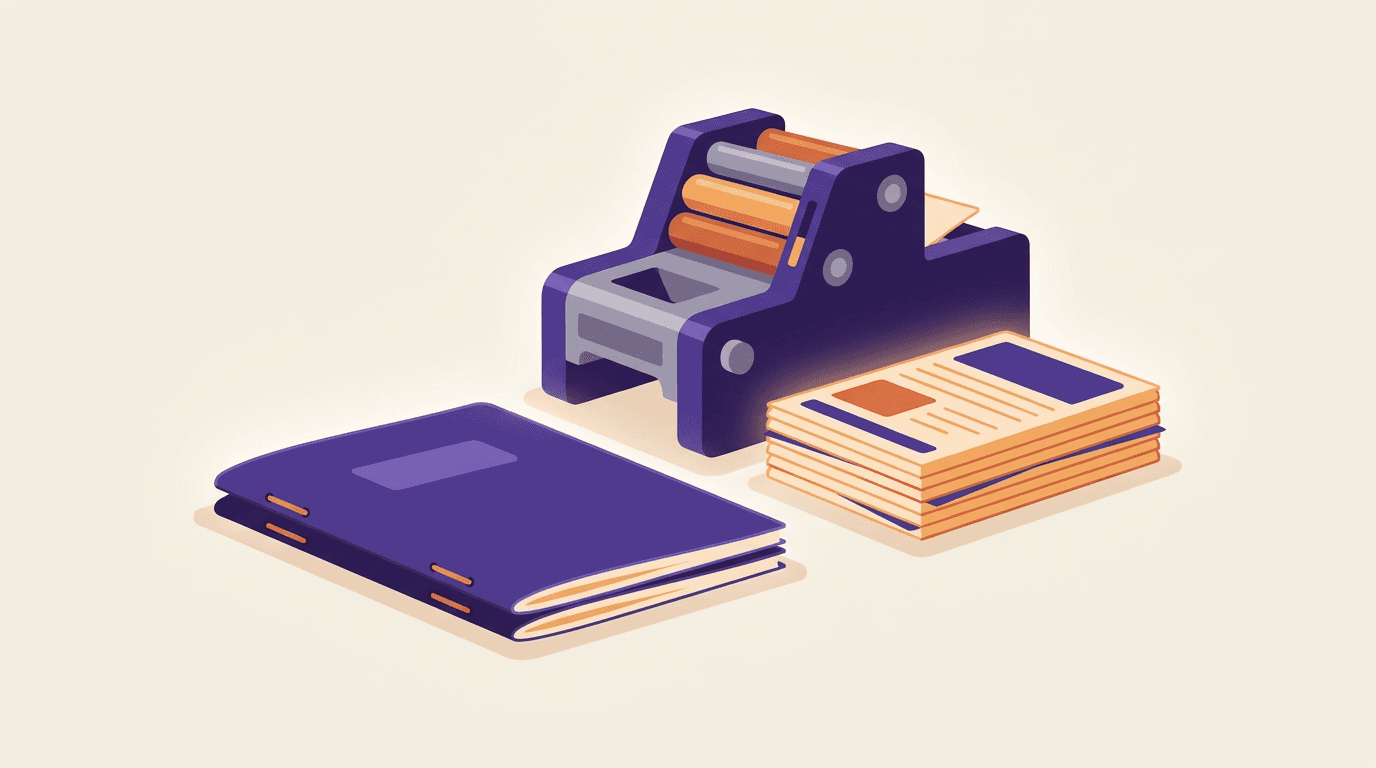
In a folded booklet, the pages are not printed in reading order. On an 8 page booklet, the outer sheet carries pages 8 and 1 on one side and pages 2 and 7 on the other. Rearranging pages into that order is called imposition, and it is the printer's job, not yours.
Send your PDF in plain reading order. Every commercial printer imposes automatically. If you impose it yourself and they impose it again, you get a booklet that reads in a random order, and you find out after the whole run is printed.
If you are printing at home on a desktop printer, the printer driver usually has a Booklet or Booklet Printing option under layout settings that does the same job. Print one test copy, fold it, and read it before committing.
Step 7: Proof It on Paper
Always print one full copy before ordering a run. On paper you will catch things a screen hides: type that is smaller than it looked, a photo that went soft, a colour that shifted, a page in the wrong place, a heading sitting too close to the fold.
Fold it, staple it, and read it like a reader would. Ten minutes here has saved more print budgets than any design decision.
Frequently Asked Questions
How many pages should a booklet have?
For a saddle stitched booklet, the page count must be divisible by four, because each folded sheet creates four pages. Common counts are 8, 12, 16, 20, 24, and 32. Count the cover pages in that total. If your content lands on 10 pages, you are printing 12 and using the extra two for a contents page, a blank, or a back cover message.
What size should a booklet be?
A5, which is 148 x 210 mm, or Half Letter at 5.5 x 8.5 inches, is the most common and the easiest to hold and post. A4 or US Letter suits catalogues and anything with tables or detailed images. A3 is for lookbooks and display pieces. Choose the size before you lay anything out, because changing it afterwards reflows every page.
Do I need to arrange the pages in printing order?
No. Export your PDF in normal reading order, starting at page 1, and let the printer handle imposition. Every commercial printer rearranges pages automatically as part of their process. If you impose the file yourself and they impose it again, the finished booklet will read out of order.
What is bleed and do I need it?
Bleed is extra artwork that extends past the trim line, usually by 3mm, so that colours and images running to the edge of the page still reach the edge after cutting. You need it only if something touches the page edge. If everything in your design sits inside the margins, you can skip it. If your design tool does not support bleed, ask your print shop to add it.
Can I make a booklet without design software?
Yes. AI design tools generate a full multi page document from a text description, with page roles, consistent typography, and a print ready PDF export at 300 dpi. You describe the booklet, the AI builds the pages, and you edit anything you want to change. Folding and binding still happen at the printer.
A month of posts, designed before your coffee cools
Describe the post. Krumzi designs it from scratch, on your brand, fully editable.
Start free trial3-day free trial, card needed. No charge until day 4. Cancel online anytime.